Showing posts with label placemat pillow. Show all posts

Monday, March 31, 2014

Placemat Pillow...


I've shared this idea about five times already on my blog, but here I go again! For the last few days I've searched for a new pillow that would add a touch of color to our recently reupholstered glider rocker.  I couldn't find anything I had to have. I eventually found myself at Target looking in their pillow aisle. When I can't find a pillow that I like in the pillow aisle, I go to the linens. There I can often find a placemat that can easily be converted to a pillow, and this was no exception.
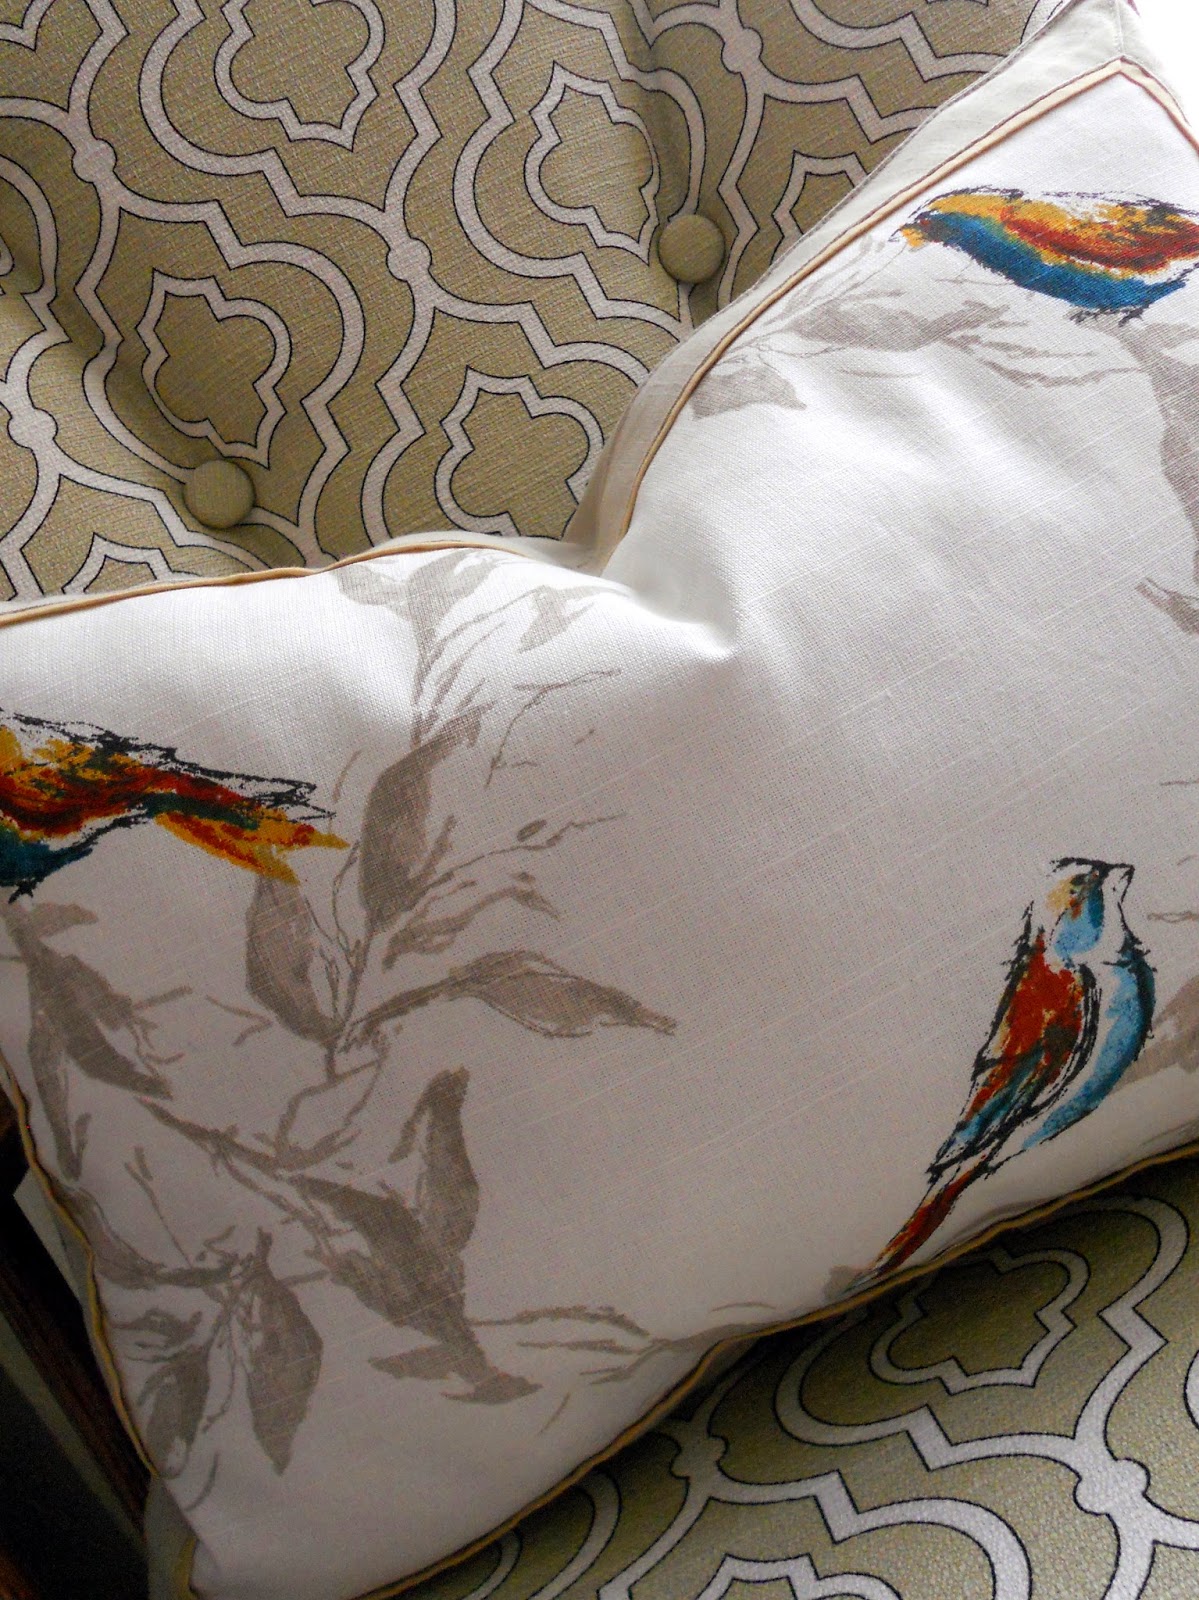

This placemat is from Target's Threshold line. It's the perfect placemat to convert to a pillow because it has a lining on the back. In other words, it is two pieces of fabric sewn together -- the front piece of the placemat and a back lining.


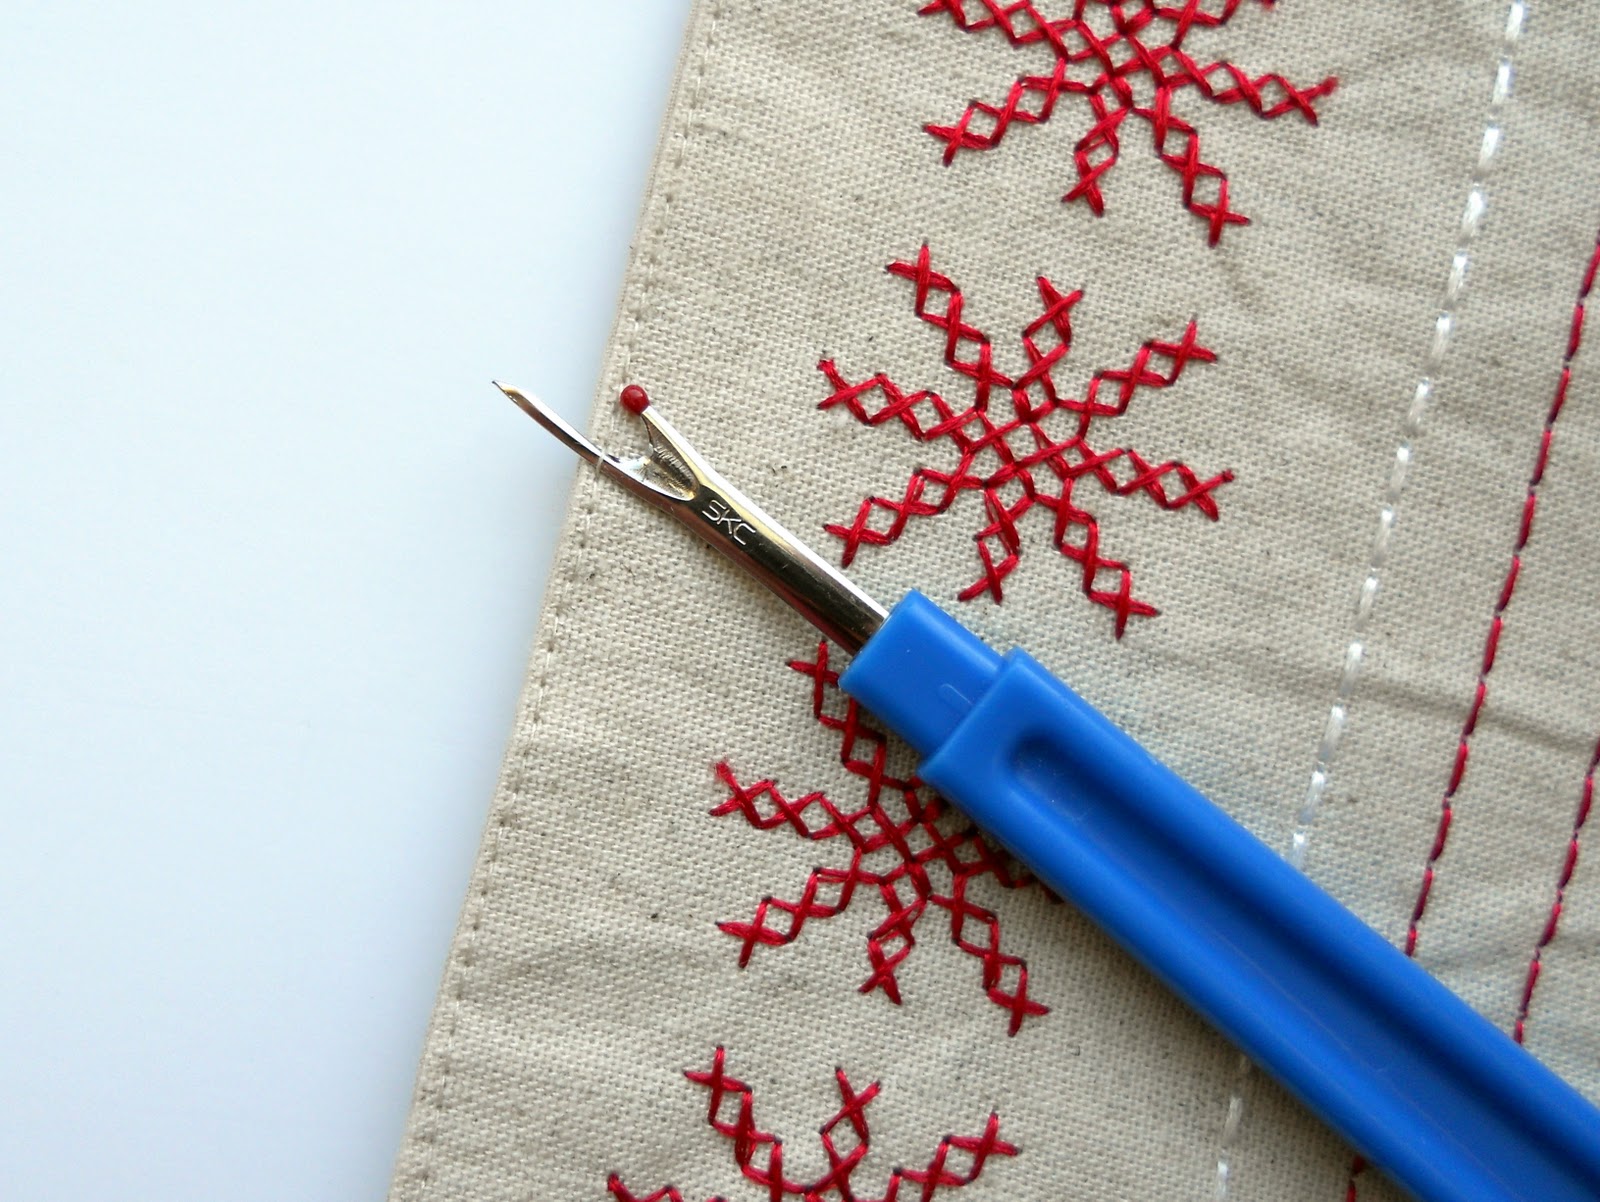
You'll need 15 minutes at the most to make this pillow. Use a seam ripper or sharp pair of scissors and open a hole in the bottom seam of the placemat that is large enough to fit your hand through -- about 5 inches. This particular placemat had topstitching and the seam, so I had to go through both of those stitches to create the opening.


Then, fill the placemat with Poly-Fil Fiber or another filling of choice. In my opinion, there's nothing like the feel of a down feather pillow!

Hint:  Sometimes I will buy an inexpensive Aller-Ease Down Alternative Pillow at Target, cut it open, and use the filling for my sewing projects. It's messy, but it makes a beautiful down-like pillow.

When you have it filled to your liking, simply stitch the seam back together. You can do this with a sewing machine or by hand.


What you have left is this beautiful pillow...


Cost:
Placemat: $3.99
Filling: $2 - $5
Needle & Thread


Thursday, October 11, 2012

Placemat Pillow...

I'm back from an amazing trip to the east coast. We visited the Washington D.C. area and had a wonderful time. In the next couple of days, I'll have to post a little about a couple of our amazing adventures while there.

This time of year I love to peruse the placemats at Crate & Barrel. They have beautiful placemats, but instead of buying eight for my dining table I usually only buy one. The purpose: to make a placemat pillow. I've used this technique of re-purposing a placemat to make an accent pillow many times, but it's a technique that bears repeating. It's a quick, economical way to make a decorative pillow. Also, there's no skill set for putting together one of these beauties! Anyone can make one because there's no sewing machine required. 

A couple of weeks ago I bought this beauty, the Tessa Placemat...


 Here are the specifics:

Start by purchasing a placemat and some Poly-Fil Fiber "stuffing". Put aside 15 minutes of your time for this project. Make sure your placemat is lined on the back. In other words there needs to be two pieces of fabric sewn together -- the front piece of the placemat and a back lining to make a pillow. (See photo below.)


Use a seam ripper or sharp pair of scissors open a hole in the bottom seam of the placemat that is large enough to fit your hand through. Then stuff the inside of the placemat with the Poly-Fil until it's nice and full. I use one 12 oz. package of stuffing.


Sew the seam back together with your sewing machine or by hand using a blind stitch. The whole process takes the better part of 10 minutes! 


I particularly love the autumn motif on this pillow and the way the branches bear blooms of all the autumn colors I love -- mustard, pumpkin, eggplant, cayenne, gray and chocolate! The aari embroidery -- with its continuous interlocking chain-stitch -- adds to the texture of this beautiful pillow.

Placemat @ Crate & Barrel, $8.95
Poly-Fil Fiber @ Hobby Lobby or Walmart, $2
Needle & Thread (sewing machine optional)
Total: $11

{Comparable pillows at Crate & Barrel sell between $35 - $50.}

Monday, December 12, 2011

Holiday Accent Pillow from a Placemat...

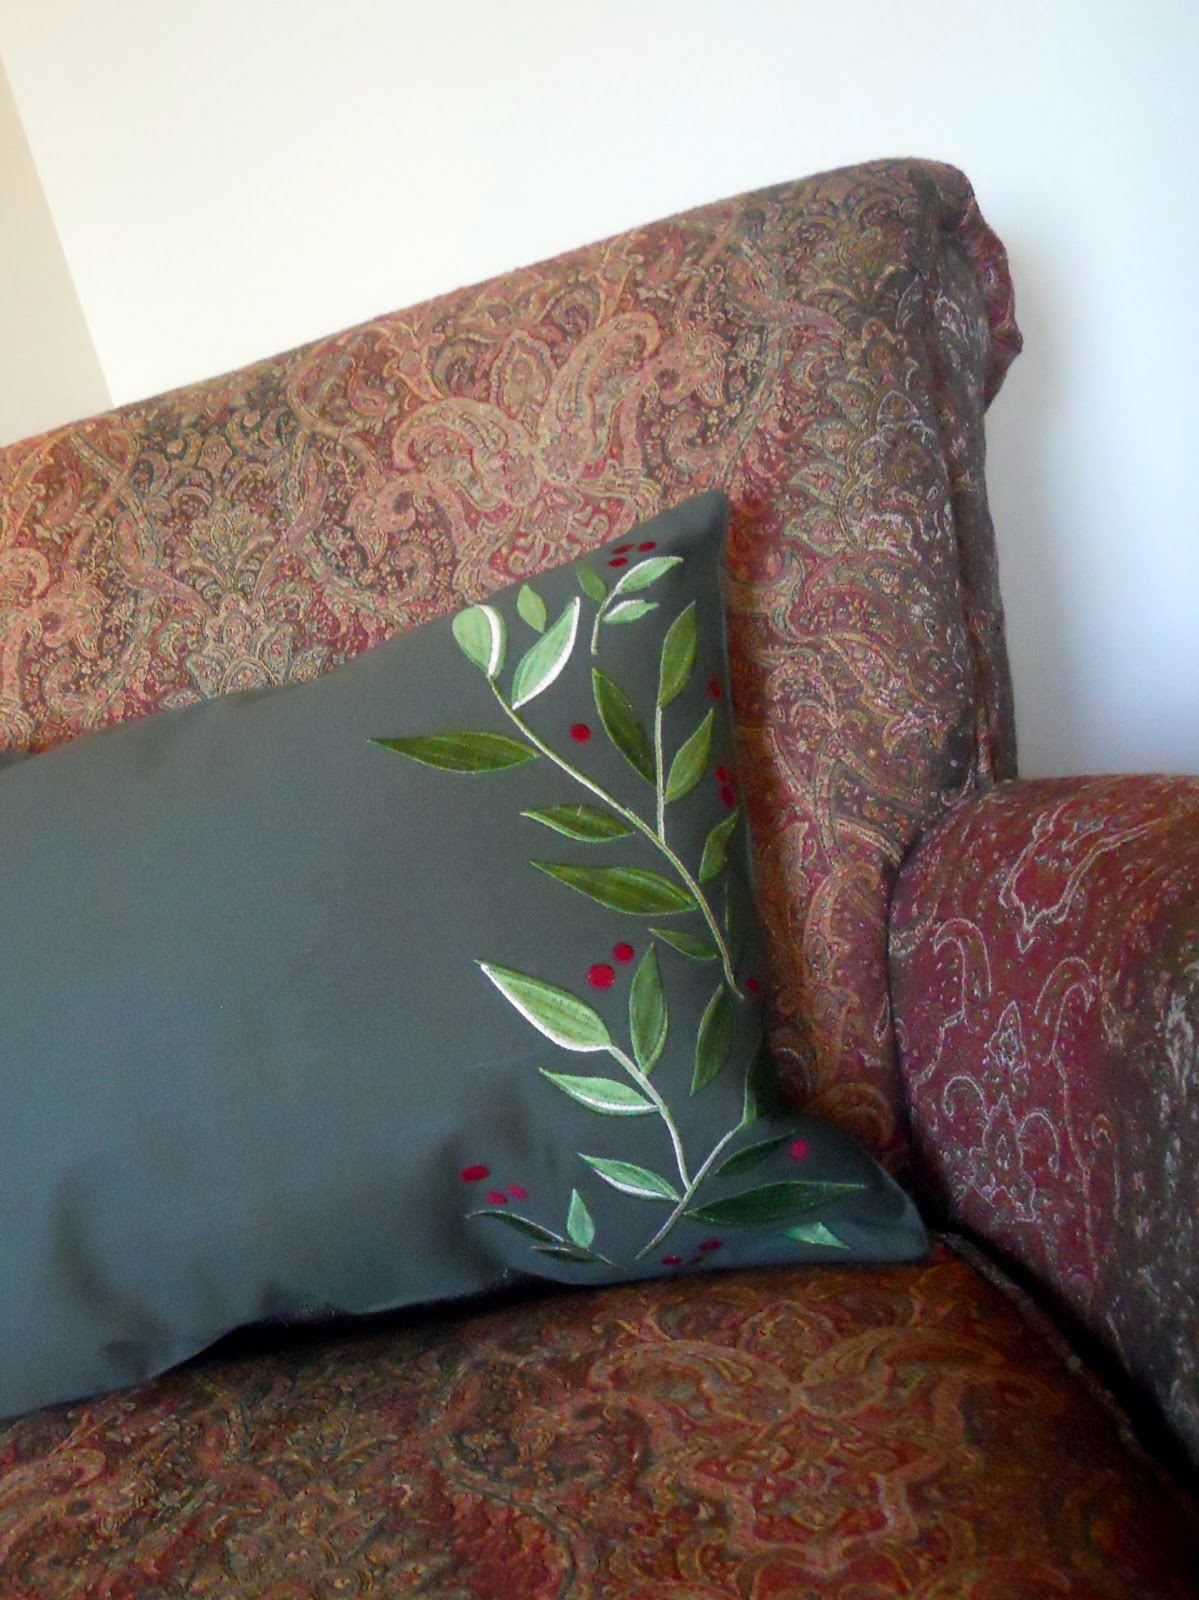
This isn't the first time I've repurposed a placemat to make an accent pillow, but it's a technique that bears repeating. It's a quick, economical way to make a holiday pillow. Also, there's no skill set for putting together one of these beauties! Anyone can make one because there's no sewing machine required.


Here are the specifics:
Placemat found @ Target, $3.99
Poly-Fil Fiber @ Hobby Lobby or Walmart, $2
Needle & Thread (sewing machine optional)

Start by purchasing a placemat, some poly-fil fiber "stuffing", and putting aside 15 minutes -- or less. I purchased this holiday placemat at Target. Make sure your placemat is lined on the back. In other words there needs to be two pieces of fabric sewn together -- the front piece of the placemat and a back lining.

Use a seam ripper or sharp pair of scissors and open a hole in the bottom seam of the placemat that is large enough to fit your hand through.


Then stuff the inside of the placemat with the Poly-Fil until it's nice and full. I use one 12 oz. package of stuffing.


Sew the seam back together with your sewing machine or by hand using a blind stitch.
 

The whole process takes the better part of 10 minutes. Truly.


I've given placemat pillows to friends for Christmas and have several around my home as well. They are so economical and easy to make and they create a fun splash of holiday cheer in any room!

Linked to:
Show Off Your Stuff @ Fireflies & Jellybeans
DIY Under $5 @ A Little Tipsy
The Inspiration Board @ Homework
Show Me What You Got @ Not Just a Housewife 
Handmade Tuesday @ Ladybug Blessings
Made by You Monday @ Skip to my Lou


Monday, December 06, 2010

Repurposing a Holiday Placemat...

to a pillow!

 
The idea of repurposing a placemat to form a pillow has been around for awhile, but I think it's worth repeating. It's one of the most quick, economical ways to make a holiday pillow. Anyone can make this pillow -- no sewing machine is required. And, best of all, they are beautiful!

Here are the specifics:
Placemat: $3.99 @ Target
Stuffing: Poly-Fil $1.80 on sale @ Hobby Lobby
Needle & matching thread (sewing machine optional)

Start by purchasing a placemat, some poly-fil "stuffing", and putting aside 15 minutes -- or less. I purchased this holiday placemat at Target. Make sure your placemat is lined on the back. In other words there needs to be two pieces of fabric sewn together -- the front piece of the placemat and a back lining.


All you have to do is use your seam ripper or a sharp pair of scissors and open a hole in the bottom seam of the placemat. Stuff with a poly-fil stuffing that you can buy at Hobby Lobby, WalMart or a fabric store and sew the seam back up either on your sewing machine or by hand using a blind stitch. The whole process takes the better part of 10 minutes. Truly.


I gave placemat pillows away last Christmas to friends at the beginning of the Christmas season. They are so economical and easy to make and they create a fun splash of holiday cheer in any room!


Linked to:
Neighborhood & Teacher Gifts Linky Party @ Poppies at Play
Strut Your Stuff @ Saturday Mornings
DIY Holiday Projects Party @ DIY Show Off
Show & Tell @ Blue Cricket Design
Linky Party @ My Uncommon Slice of Suburbia
Boardwalk Bragfest @ Bobbypin's Boardwalk
Nifty Thrifty  Tuesday @ Coastal Charm
DIY Project Parade @ The DIY Show Off
Motivate me Monday @ Keeping it Simple
Craftastic Monday @ Sew Can Do

Friday, November 27, 2009

Repurposing -- Holiday Placemat Pillow

Ahhhh. After a one and a half day decorating marathon, the halls are decked! Christmas is upon us, and at our house it's all around us. Yes, it's time to break out the Christmas decorations and maybe make a few new ones! Here's a new application for the "old" trick of repurposing a placemat to create a pillow. This time it's a holiday pillow. Here are the specifics...

Cost...
Placemat: $5.95 @ Crate & Barrel
Napkin: $3.95 @ Crate & Barrel
Stuffing: Poly-Fil $1.80 on sale @ Hobby Lobby


This pillow was a little different than the others I had made because the placemat wasn't "lined." It was just one piece of fabric, so I needed another piece of fabric for the back of the pillow. I could have used fabric from my home stash, but I decided when I bought the placemat to buy a complimentary colored napkin to use for the back of the pillow. So easy.


When it came time to make the pillow I laid both pieces of fabrics (wrong sides together) on the ironing board with the placemat facing up. I lined up two sides of the napkin and placemat and ironed the other two sides of the napkin over the placemat to show me where best to fold the napkin so all sides would line up. Then I pressed the newly made napkin hems for those two sides. (No need to stitch those hems because that will be taken care of when you stitch the placemat to the napkin.)

It was time to pin the placemat and napkin together -- wrong sides together. Then I sewed along the already existing 1" hemline of the placemat, leaving an opening in the bottom of the pillow for stuffing access. A little stuffing filled the pillow, and the hole was stitched shut! So easy. So quick. So festive! So dang cute!!!

Thursday, November 12, 2009

Repurposing -- Another Placemat Pillow

I had an extra 10 minutes today, so I whipped up another placemat pillow. If you're not sure what I'm referring to, scroll down to the post below and all will be explained. Here's my latest placemat to pillow transformation.

Cost...
Placemat: $7.95 @ Crate & Barrel
Stuffing: Poly-Fil for $1.80 on sale @ Hobby Lobby
Time: 10 minutes

Less than $10 for a beautiful
-- one of a kind --
embroidered pillow.

Wednesday, November 11, 2009

Placemat Pillows

This afternoon I could be found at one of my favorite stores, Crate and Barrel. I hadn't been there for several months, so I took my time browsing the isles and looking at all the desirable entertaining and decorating items they had on display. That's my idea of a eye candy. My eyes kept being drawn to the pillows they had featured -- especially the appliqued pillows. Here's a sampling of what I saw...


Just beautiful. I'm drawn to these vibrant, earth toned colors all year long, and I was imaging how beautiful one of these pillows would look in my family room. Most of large pieces of furniture in my family room are brown-toned, so I like to accessorize with bright colors, and I thought one of these pillows would do the trick, until I looked at the price tags. Now, I don't mind spending money on a quality item every now and then, but I just couldn't rationalize spending between $37 - $50 for one of these beauties. Simply couldn't bring myself to do it. Then my eyes lit on this placemat.
Again, I was drawn to the beautiful appliques and colors...

Hmmm. Months ago I read an article where someone had taken a placemat and transformed it into a pillow. I checked the back of the placemat and it was "lined." A beautiful possibility began to take shape. A purchase was made and I high-tailed it home to begin the transformation.

All you have to do is use your seam ripper and open a hole in the bottom seam. Stuff with a pillow form (14"x18") or stuffing and sew the seam back up. The whole process takes the better part of 10 minutes. Seriously.

Honestly, this little gal is just as pretty as any of the other pillows I saw and she was a fraction of the price. I'm dancing the happy dance. What's more, two more placemats came home with me and are awaiting their transformation (scroll up to see my favorite one completed)...


Head on over to "The Shabby Chic Cottage" for Transformation Thursday and "Tales from Bloggeritaville" for some Thrifty Thursday ideas. Also linked to Funky Junk Interior's "Saturday Night Special!"