Thursday, May 31, 2012

Imported Lace Kindle Case Tutorial...

Often when I publish a tutorial I'm asked in a comment or email if I plan on selling the item in my Etsy. Sometimes the answer is "no", but occasionally I do make extras and put them in my Etsy to sell. This is the case with my Ruffled Kindle Case.


Tuesday I posted my "Ruffled Kindle Case" tutorial. Today I'd like to suggest a variation to that tutorial and show you my "Imported Lace Kindle Case." {Did you notice that rhymes? It does.} Here's the tutorial:  Instead of running a fabric ruffle down the center of the case, I simply sewed two lines of beautiful crocheted imported lace down the center and then applied the twill tape over the ends. {End of tutorial.} ;o)

Here's a tone-on-tone I made yesterday...


All three of these cases {and more} are for sale in my Etsy for those non-sewers in my group!


For you sewers... If you don't have a Kindle already, you might have to go purchase one just to try out your sewing skills!


Have a nice day!

Tuesday, May 29, 2012

"Ruffled Kindle Case" Tutorial...


I've loved the design of this "Ruffled Kindle Case" ever since I made the first one a month ago! I've been promising a tutorial for weeks now, and today I finally took the time to put one together. This case has a beautiful little ruffled front with an etched mother-of-pearl button and cord closure. If you're looking for an easy sewing project, this one's for you.  It doesn't get much simpler than this! {Update: Check out my "Imported Lace Kindle Case" for an even easier variation for this Kindle pouch!}

For those of you with no desire to make one of your own, check out my Etsy Shop where you can purchase one of these cases!


My "Ruffled Kindle Case" will fit any Kindle that is 7.5 inches x 4.8 inches x .45" or smaller! In other words the case will hold a Kindle, Kindle Touch, Kindle Touch 3G, Kindle Keyboard 3G or Kindle Fire. {The case, however, is too small for a Kindle DX.}


Materials Needed:

2  -  6 3/4" x 9" front and back (muslin, linen, or cotton)
2  -  6 3/4" x 9" lining (contrasting cotton)
2  -  6 3/4" x 9" fusible fleece
1  -  5" x 14" contrasting cotton fabric for ruffle
6 1/2" length of cording
9 1/2" length of 1/2" twill tape
One 3/4" button

Note: 3/8" seam allowance unless otherwise stated.
Finished measurements of bag approximately 5.5" x 8".

Tutorial:

1.) Prep Work: Cut out all pieces of fabric and apply fusible fleece to wrong side of case front and back...


2.) Making the Ruffle: (see photos below)
a.) Fold ruffle in half lengthwise -- right sides together -- and sew 1/8" from the unfinished edge. {Just sew the long side -- not the ends.}
b.) Press seam open.
c.) Turn the fabric right side out and press so that the seam is down the middle on one of the sides. This "seamed" side will become the underside of the ruffle.
d.) Sew a basting stitch 3/8" from the middle seam -- along both sides of the seam. Don't trim threads ends.  These basting stitches will be used to gather your ruffle. Turn your fabric right side up. Gently pull the two threads on the front of the ruffle -- leaving the threads on the back of the ruffle alone. Gather the fabric as you pull. When your gathers reach the middle of the ruffle, shift to the two front threads on the right side of the ruffle and repeat. Keep gathering the fabric toward the center point until your gathered fabric is the length you want it to be. {For a YouTube video on how to gather fabric using this technique, go here.}


3.) Attaching the Ruffle: Once the ruffle is gathered attach it to the case front -- making sure it is centered properly on the front.

Sew ruffle to case front using a regular stitch right down the middle of the basting stitches. Remove the basting stitches.


4.) Twill Tape: Pin the twill tape down the center of the ruffle and sew close to the edge of the tape.


5.) Cording: Cut cording and attach the loop to the back of the case in the middle at the top. I tape the ends of the cording with a little masking tape so the cording is less likely to pull through the seam.


6.) Lining: Pin together lining pieces -- right sides together. Stitch sides together, pivoting at the corners and leaving a 3" opening on the bottom seam. Back-stitch at the opening to ensure your stitches are secure. Trim seams and set aside.


7.) Case Front & Back: Pin case front to case back -- right sides together -- at side and bottom seams. Stitch seams together - trim seams -- turn right side out and press.


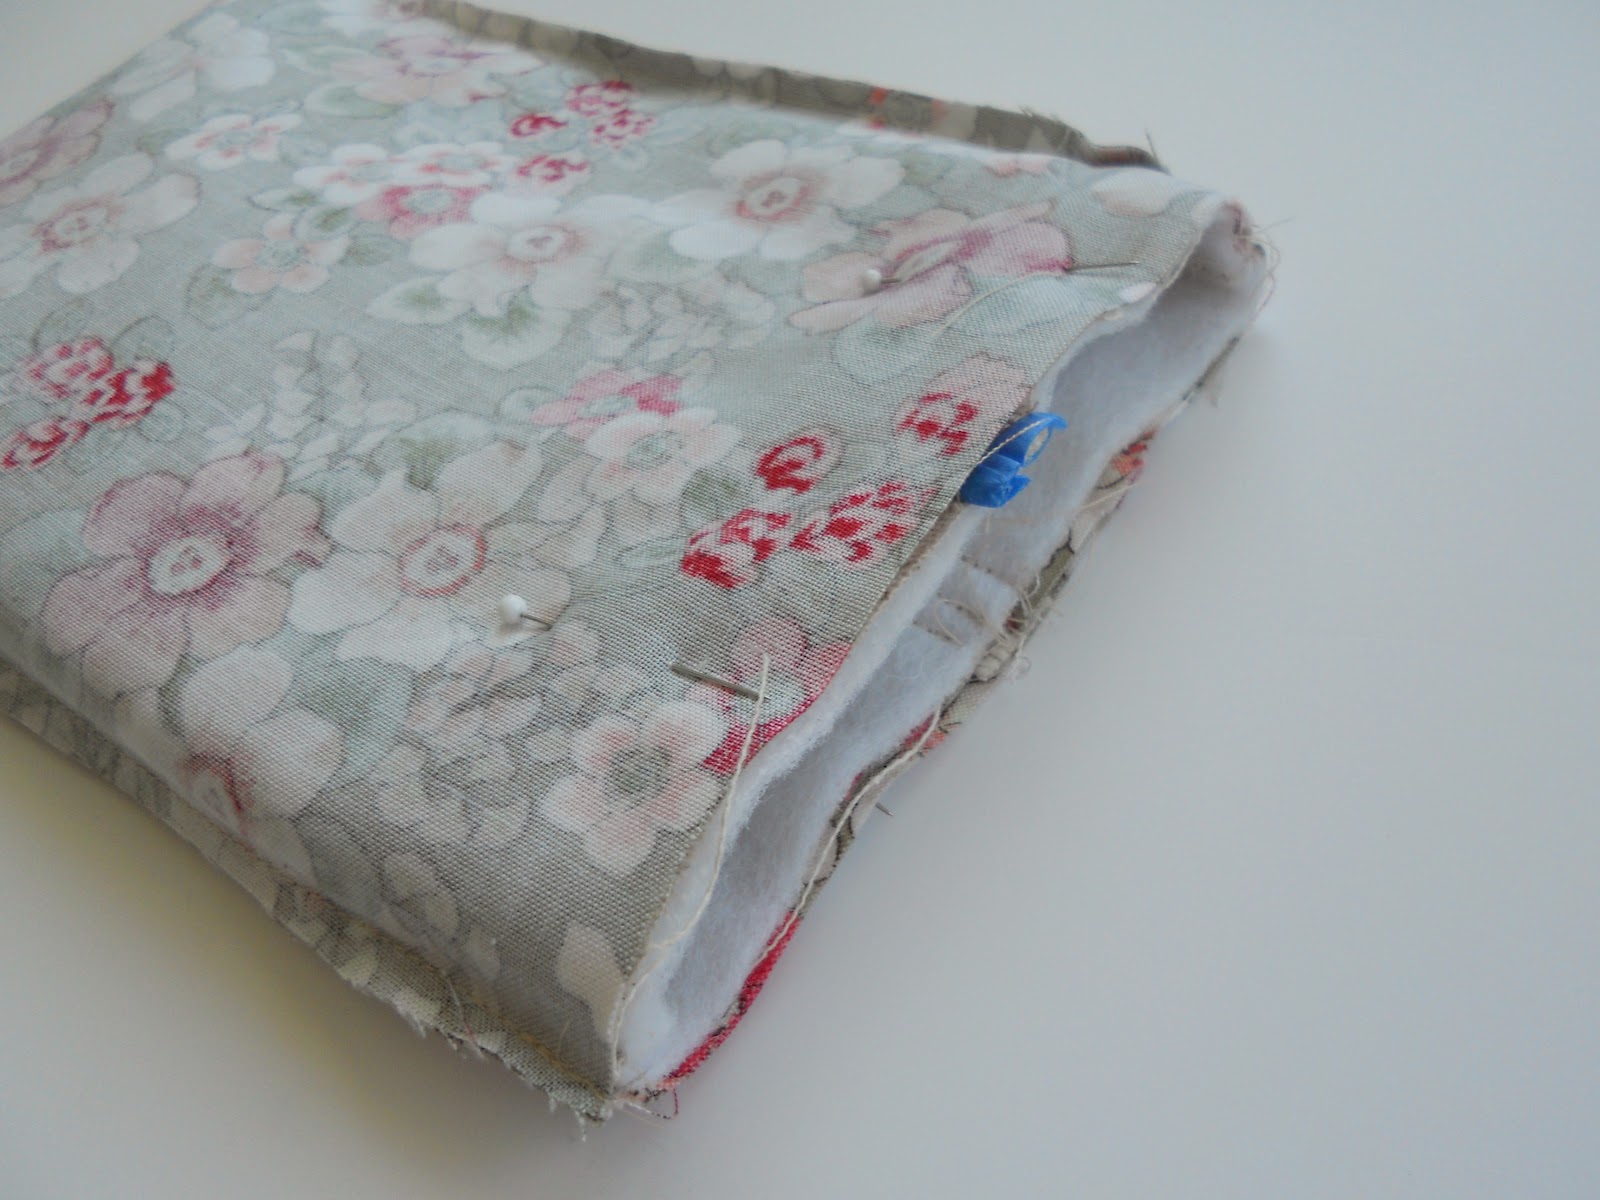
8.) Sewing Lining to Ruffled Case: Slip case into lining -- right sides together. Match seams and pin. Sew around top of case and zig-zag the edges. {Pay special attention to the area where the cording is -- make sure it is very secure.}


9.) Finishing Touches: Turn case right side out by pulling the bag through the opening in the bottom of the lining. When case is right side out sew seam together at the bottom of the lining 1/8" from edge. Tuck lining into case and press the front and back of your Kindle case.


Top-stitch 3/8" around the top of the case, then sew button 1" from the top edge. Press once again and you're done!


You've now completed your "Ruffled Kindle Case"! 

I remember when Kindles first came out I wasn't sure I'd ever want one. I'd always loved turning the pages of a book and the feel of a book in my hands.


I got over that nostalgic-ness real quick-like when my son gave me a Kindle for Christmas a couple of years ago. I've had a love affair with my Kindle ever since. Serious. Love. Affair. I couldn't live without it -- at least I'd never want to try.


Because my creative juices are fueled by your wonderful comments, please leave one if you appreciate this tutorial! Thank you!

Linked to:
Hookin' Up w/House of Hepworths
Show Off Your Stuff Party @ Fireflies and Jellybeans
Link Party @ Somewhat Simple
Handmade Tuesday @ Ladybug Blessings
The Inspiration Board @ Homework


Bloomin' Tuesday...

It's a glorious morning in Colorado! Sun shining, birds singing, grass greening -- a perfect day for Bloomin' Tuesday!

I hadn't planned on publishing a Bloomin' Tuesday post today, but the beauty in my garden pulled me outside so I took a few shots. The last couple of weeks we've worked hard to get the yard in shape, and we're finally enjoying the fruits of our labor. Here are a few photos -- no commentary this time. I want to put together a pattern and tutorial for my new Kindle case today, so I've got to tear myself away from the computer and concentrate on that!


 Linked to:
Bloomin' Tuesday @ Ms Green Thumb Jean's
Garden Tuesday @ Sidewalk Shoes

Sunday, May 27, 2012

Memorial Day...


Remembering on Memorial Day...


"The legacy of heroes is the memory of a great name and the inheritance of a great example."
                                                                                                                 - Benjamin Disraeli

Friday, May 25, 2012


I spy with my Etsy eye some... 
summer fun!


Clockwise, starting top left:

Wishing you a wonderful Memorial Day Weekend!

I've been "taking it easy" {slaving over my garden/yard} the last couple of weeks,
but hope to be back next week with a tutorial or two! 

Tuesday, May 22, 2012

Container Gardens for Bloomin' Tuesday...


This last week has been filled with gardening. I had a lot to catch up on and I finally had the time to do my annual planting of flower beds and containers. This one week a year {when I plant all my summer flowers} is always my most demanding gardening project of the year. This year I planted 250 impatiens in a tiered flower bed and filled 16 containers with a variety of blooms. As much as I dislike planting those impatiens every year {it's back-breaking work} they give us a bounty of color and blooms throughout the summer. This...


turns into this, by mid June.


One of my favorite planting projects each year is choosing the flowers for and planting my container gardens. Throughout the summer months the plants grow and develop and give us a huge variety of sumptuous color...


Over the years I've learned a thing or two about how to plant a beautiful container "garden." I'm no expert -- just a lover of flowers. There's a big difference. I don't know much about individual plants or species or habitats, but I know what has worked for me in the past. That's where it's beneficial to have a few years on you! I've planted tons of flowers over the years, so I know what works and what doesn't in my area because of this experience. If you're new to an area ask someone whose garden you admire for a little advice. I thought I'd share some of the things I've learned about how to plant a gorgeous container garden.  


In designing a mix of plants for a specific pot, there are three things I consider to add variety to the container:

1.) color
2.) shape
3.) height

Color
Someone asked me if I mix colors or if I stay to a couple of coordinating colors in my containers. I have found that I am drawn to pink, purple and blue flowers. I have to force myself to consider red, orange and yellow blossoms. However, when I plant a container I have found the container is much more interesting if I throw a warmer color in with a variety of cooler colors or visa versa. White flowers, too, have a way of "breaking up" coordinating flowers. Take the container below for example. The principle players are a bright pink gerbera daisy, a pink geranium {not in bloom}, and an orange/yellowish osteospermum. I think that dash of yellow adds a lot to the mix -- at least it will when the geranium comes out and creates a majority of pinkish hues in the container...

Shape
Another consideration is the shape of flowers and leaves. Having a variety of shapes engages the eye and adds variety to the container. Consider the different shapes of the leaves and flowers in the containers below...

Height
Finally, I consider the height of the plants. In each container I want a variety of height. I like to place a tall spike in the middle of the pot, then I add some plants of medium heights and then some trailing plants that spill over the sides of the container. 

Tall plants: spikes
Medium: geranium, osteospermum, gerbera daisy (gerber daisy), marigold, etc.
Trailing plants: million bell, bacopa, diascia, vinca, nemesia, asparagus fern, lobelia, ivy, alyssum, etc.

The flowers in the photo below had recently been planted so they hadn't matured, but you can see the height of the spike in the center, the geraniums and marigolds a little lower and the trailing plants lower still and trailing over the sides of the container (the vinca with the variegated leaf on the left and the orange diascia on the right). As these plants mature you will see the variance in height more clearly.


I scatter my containers around my patio and by my front door. They add vibrant color to an otherwise boring concrete patio and surround my patio furniture with greenery and pops of bright color!

Linked to:
Bloomin' Tuesday @ Ms. Green Thumb Jean'
Garden Tuesday @ Sidewalk Shoes

Friday, May 18, 2012

Wednesday, May 16, 2012

California and McIntosh Lake...


Last evening my husband and I flew home from our weekend trip to California. We had a wonderful time drinking in the beauty of one of our favorite states...


The first day we got there our son took us to a favorite spot in Pescadero. Pescadero is a tiny town in San Mateo County -- south of Half Moon Bay and north of Santa Cruz. It's located about 2 miles east of Highway 1...


The reason for our venture to this unassuming little town is their talent of making anything artichoke. We dined on fresh-out-of-the-oven warm Artichoke Garlic Herb Bread from Norm's Market. It was carbohydrate heaven...


Then we walked down the street to Duarte's and sampled their artichoke soup and artichoke ravioli. Can one ever get too many artichokes? The answer is simple: No.

Another day we went to Santana Row in San Jose. It's worth it to go there just to enjoy the beautiful container plants, but the shopping is wonderful too...


While there we went to a new (to us) restaurant called Pizza Antica and had some fabulous pizza and desserts!


Later that night we went to another fabulous restaurant in Sunnyvale called Dish Dash.  It's a Middle Eastern Restaurant tucked into the downtown area. I had a incredible dish called Mansaf -- tender chunks of lamb, cooked in aged yogurt and served with rice and toasted almonds. I want more. Right now. We also shared a Baklava sundae for dessert -- rich, vanilla ice cream with yummy Baklava crumbled on top. I want more. Right now.

We enjoyed Mother's Day with my mother and sister. My mother is 89 years old. Although she says she's "slowing down", she seems as spry as ever to me. Here's a photo of some of her beautiful roses...


Sometimes when we fly home from California, we fly right over Longmont as we make our descent into Denver. Last night we easily spotted our house and a lake near our home. After all that fine dining in California, we feel the need to exercise a bit a lot. In a month we are boarding a cruise ship to Alaska. My husband and I have a goal to loose 10 pounds each in the next month, so we can eat anything on the cruise and not feel guilty. {Kind of pathetic, I know!} In an effort to begin that weight loss, this morning we biked around McIntosh Lake -- the one we spotted as we flew over our home last night...


As much as we love traveling and going "home" to California {we were both raised there}, it's good to be in our home in Colorado.

This week will be filled with "catching up." I've traveled three out of the last four weeks, so there is tons of yard work to be done and a Sunday lesson to plan for church. Blogging will fall by the wayside -- some weeks are like that. Have a good one!