Showing posts with label Snappy Bag. Show all posts

Monday, January 30, 2017

Snappy Bag & Mommy Cards...


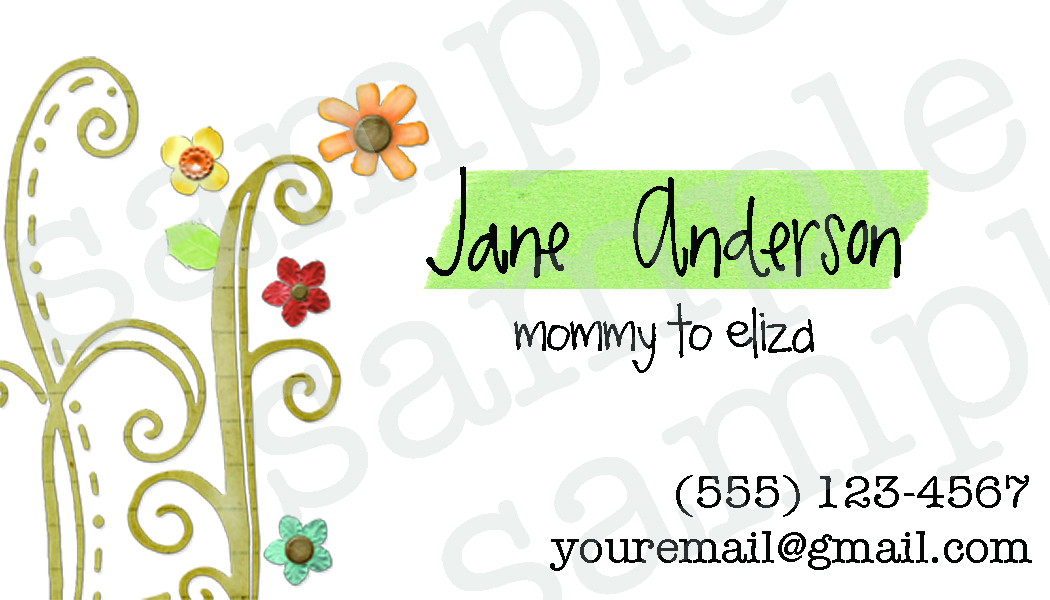
It seems as if many of my ideas lately are gifts for a new mother. This is one that you won't see every day. The transition from career/working woman to stay-at-home momma can be significant. As much as we look forward to children coming into our lives, the shift from a working lifestyle where you are in constant association with others, to a lifestyle with a baby and husband being your "whole world" leaves many young mothers yearning for a little outside fellowship with others in a similar situation. Fortunately, staying at home is less structured than working, so you are in a position to meet others and become friends. That's where a "Mommy Card" comes in. You use it much the same as a business card.

One can hand it out to other young mothers you might happen to meet at the library, park, church or wherever! The card tells them your name and some contact information of your choice.


I ordered these cards for my daughter-in-law who after a number of years is becoming a stay-at-home mother to their first baby. They came from Vista Print and cost about $20 {embossing was extra} for 100 cards. If you think that's too many, you don't know my outgoing and friendly daughter-in-law. They are moving in the next couple of weeks, so she's sure to use them as she meets other young mothers living near her new home. 


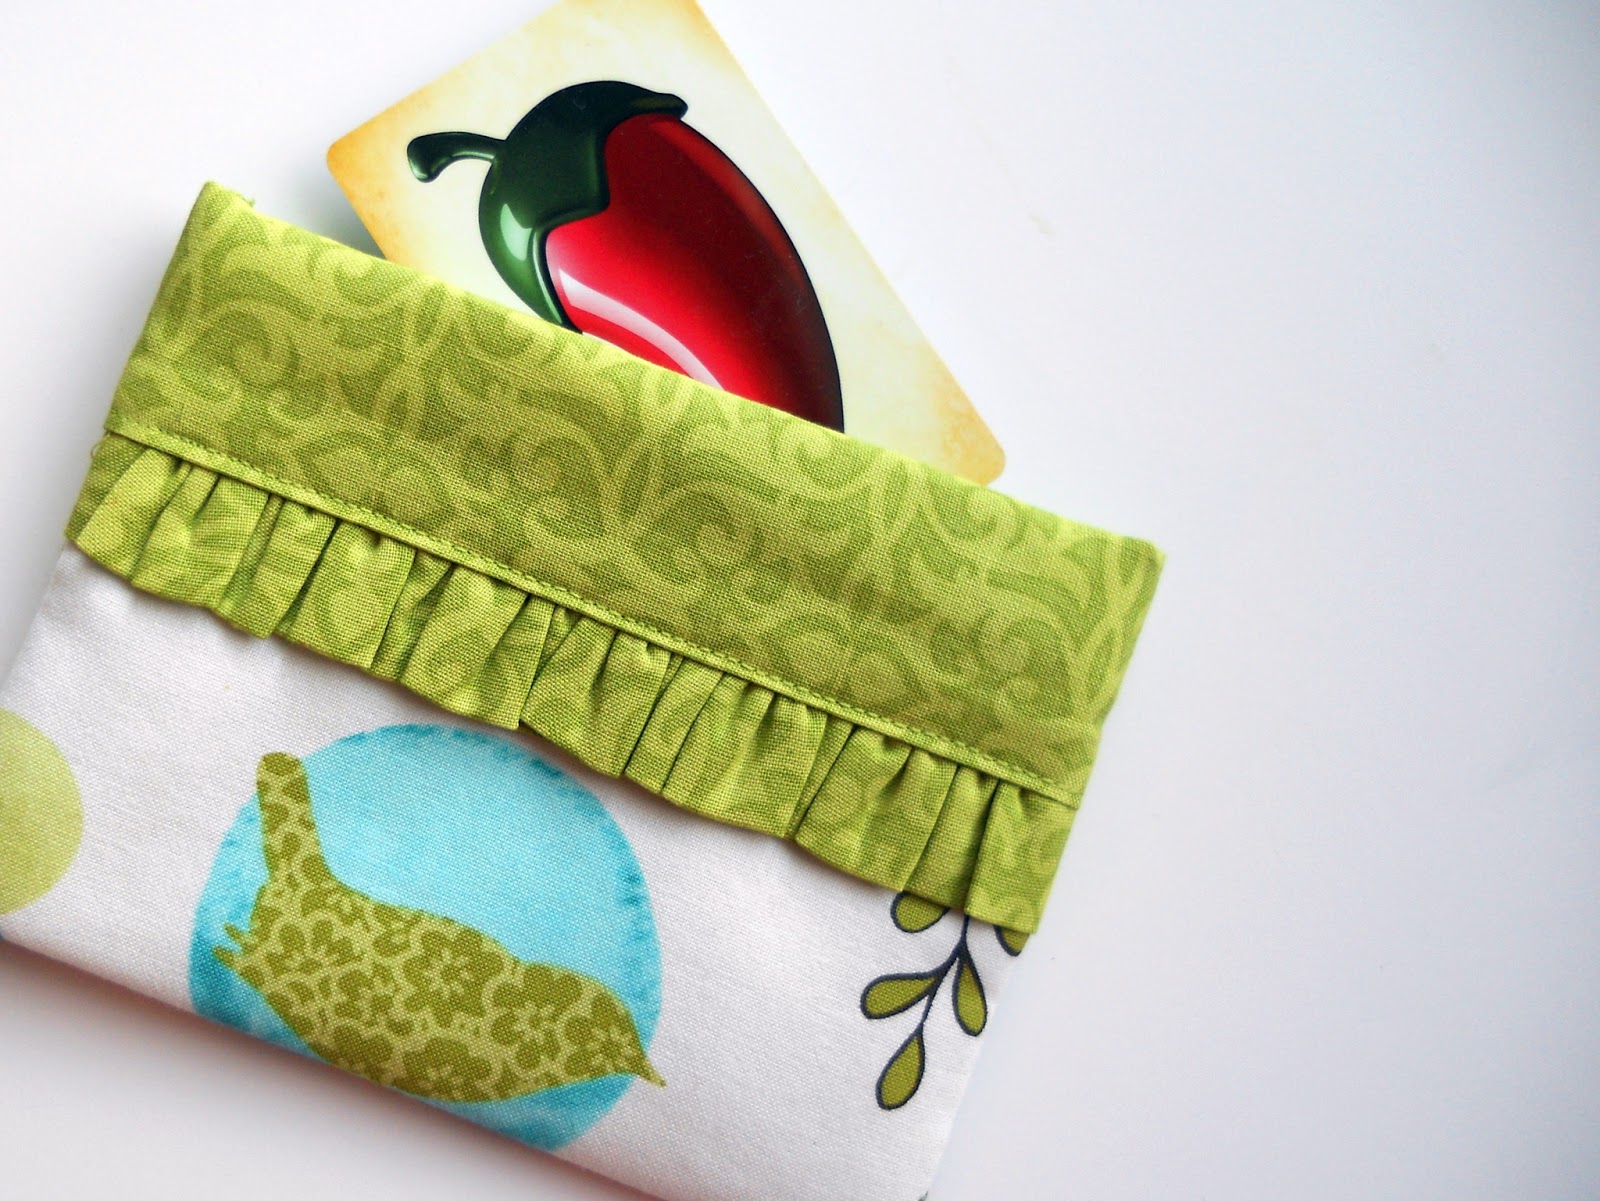
I don't know if you remember my "Snappy Bag." Go here for the tutorial. They are just the right size to carry a young mother's new Mommy Cards. 


I think this is a fun little gift for the new mother to help her transition to her new role when she becomes a stay-at home momma!


Monday, February 01, 2016

Snappy Bags for Valentine's Day...


I love the combination of a cold, snowy day and a stash of fabric. My poor little bunny is feeling the effects...


Last week I was in California, so the snow is a bit of a jolt to my system as well, but that makes it a good day to hunker down and get a little sewing done. Two weeks ago I spent some time making some Snappy Bags for the grands for Valentine's Day. {If you'd like the tutorial, go here.} These little snappy bags are perfect for hiding Valentine chocolates, a gift card, or a dollar or two. Here are a few I've created already...


I can't wait to fill them with goodies and send them off. 
Back to my sewing machine...!


Wednesday, January 20, 2016

Valentines... Snappy Bags!


Happy January! Oy vey. This year has come in like a roaring lion for my extended family -- with several scary emergencies, unexpected travel for several of us, and a continuous dialog with my Heavenly Father {sometimes referred to as "prayer."} I used to think when unexpected situations arose that they were the exception in my life. Not so much anymore. They are becoming the norm. I have to wrap my head around that better, so as not to be floored every time something unforeseen happens. In any event {raise your cups for the toast}, here's to an uneventful and boring February. 

It's been a few years since I wrote my Snappy Bag Tutorial, and it's been that long since I made a few of these delightful little pouches.


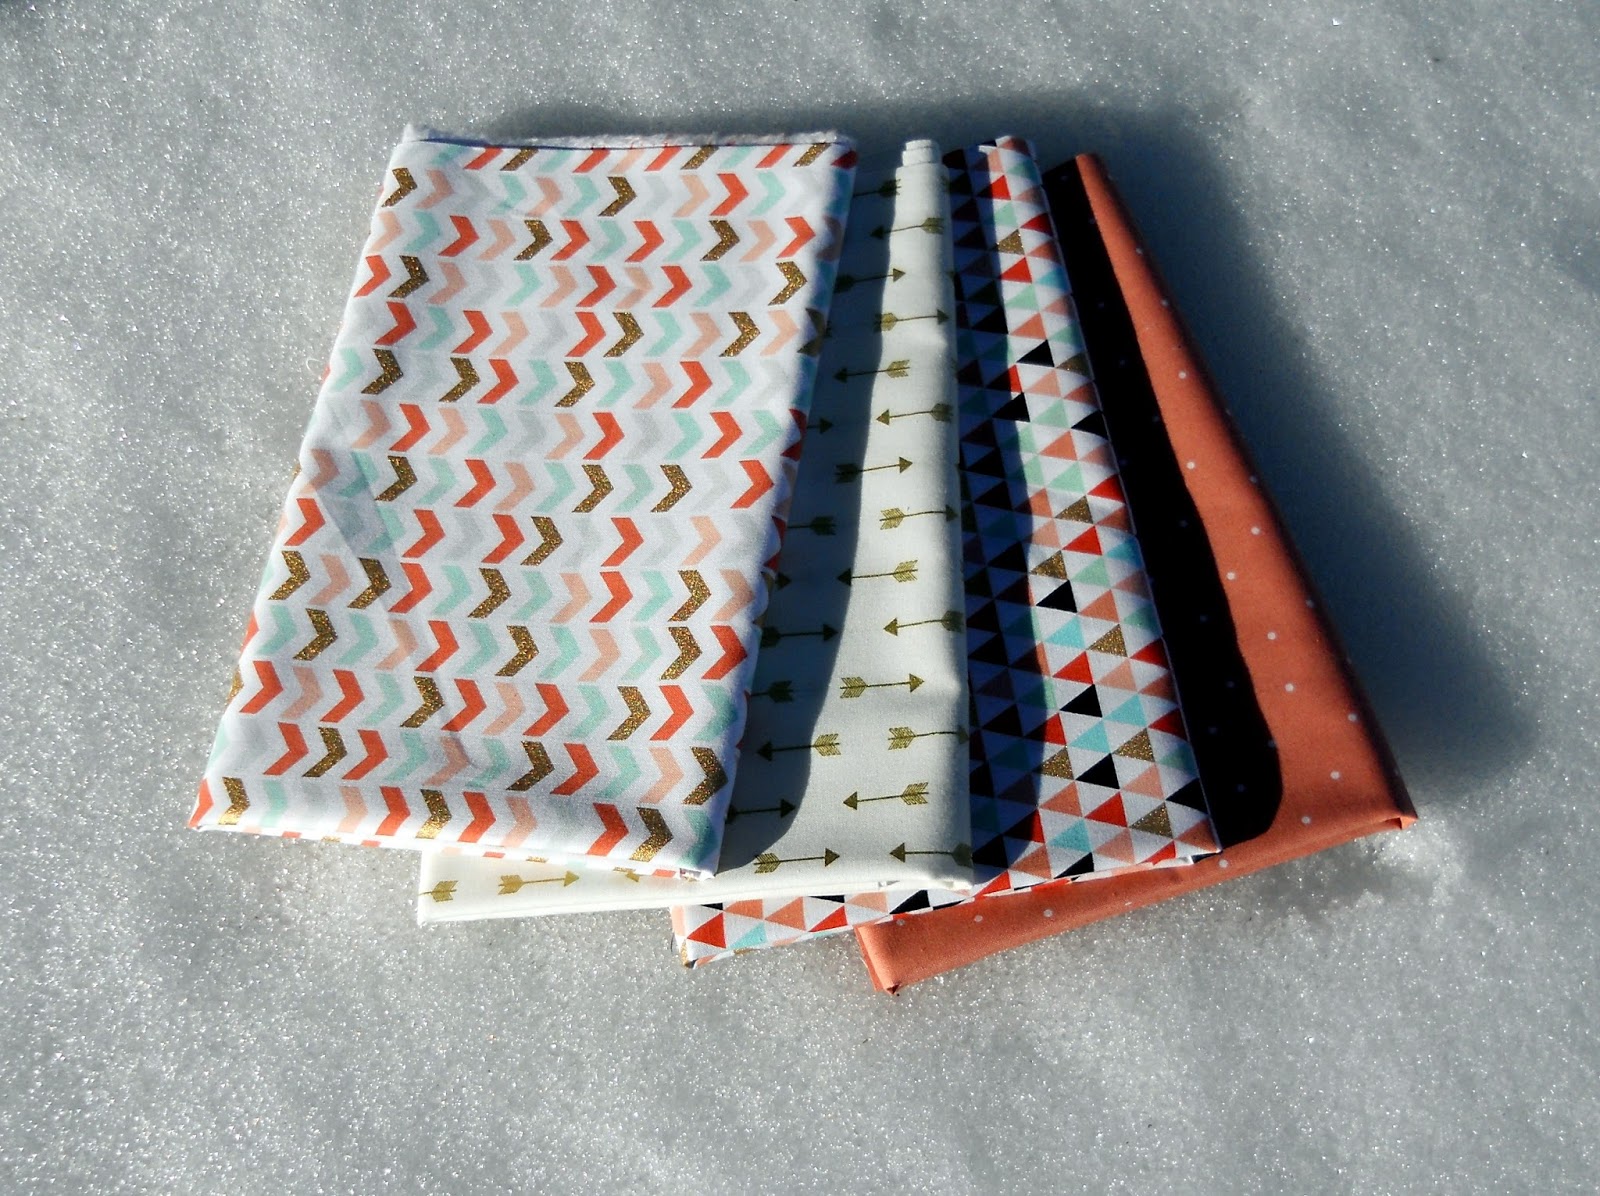
I'm in the process of making a bundle of these in the next few weeks. A while ago I purchased some cute fabrics from Hobby Lobby, and I'll use these and other fabrics in my stash for some of the bags...


These little bags are a perfect Valentine for a loved one. They are big enough to fit a gift card, lipstick, nail polish, or some chocolate pieces! I also have a tutorial for the Snap Trap, which is a perfect snappy wallet for little ones. I'll post again when I have some finished. I hope to get some done before I head to California next week!

Monday, May 19, 2014

"Snap Trap" Little Kid Wallet...


About a month ago my eight-year-old granddaughter called me with a dilemma. She had "accidentally" misplaced her Snap Trap Wallet and wondered if I would make her a new one. I told her I would be happy to, but it might take a few weeks because we had a wedding scheduled for the next week.


Last week I was finally able to whip one up for her...


This little kid wallet has a "snap" compartment with a metal measuring tape closure for treasures that snaps shut and a "trap" pocket secured with a zippered for valuables {cold hard cash}.


These wallets can be made with fabric scraps and they take no time at all to whip together. This is a pattern that I created, and I've made the pattern and tutorial available to all at no charge. Just go HERE to make one for someone special in your life.

Wednesday, July 24, 2013

Snappy Bag Sunglass Case Tutorial...


Earlier this week I published a post about a tote I made for a friend...


In addtion to the tote, I made this Snappy Bag Sunglass Case...


Do you remember my Snappy Bag? ...


This little bag is a mini-pouch that has pieces of a metal tape measure in the top casing that forms a "hinge" that snaps open and shut!

Well, I used this same approach when making the Snappy Bag Sunglass Case. The closer at the top of the case snaps shut, with the help of the metal tape measuring pieces, to ensure the sunglasses stay inside the case.


The dimensions of the fabric for the Snappy Bag Sunglass Case are totally different than the Snappy Bag, of course, but the instructions you follow to make it are identical. Here's the tutorial...


Materials needed:
Bag front: 4 1/4" x 13" cotton fabric
Bag lining (& casing for measuring tape):  4 1/4" x 16 3/4" contrasting cotton fabric
Ruffles: Two 2" x 9" strips of same (or other) contrasting cotton fabric
Interfacing: 3 1/2" x 13" fusible fleece interfacing
Two 3" lengths of  3/4" wide metal measuring tape
Thread
Use 3/8" seam allowance. 


Directions: 
You will follow the same directions for the Snappy Bag Sunglass Case as you do for the Snappy Bag. Simply interchange the measurements above for the measurements of the Snappy Bag in the tutorial.


Go here for the tutorial!


Linked to:
Sundae Scoop Party @ I Heart Naptime
Friday Favs Party @ Nap Time Crafter

Monday, February 20, 2012

Snap Trap {Lil' Kids} Wallet Tutorial...

What a mouthful. You'd think I could think of a more succinct name. From here on out we'll call this kid-sized wallet the SNAP TRAP!

Last week I introduced my Snap Trap wallet for kids. Although the Snap Trap looks similar to my Snappy Bag, the pattern and tutorial are really quite different. My Snappy Bag is great for business cards, makeup or treats, but the measuring tape closure is not secure enough for money. For the Snap Trap wallet I devised a way to add a pocket with a zippered closure to keep money or other valuables safe. This wallet could, of course, be adapted to be an adult bag with more adult-like fabric choices!


Below is the "pattern" and tutorial for my Snap Trap wallet. Please remember the little printer icon at the bottom of this post that enables you to print {with ease} this tutorial.


Materials Needed:

Front pocket and pocket lining: Two - 6 1/2" x 3 1/2" pieces of cotton fabric
Back: 6 1/2" x 4 1/2" piece of cotton fabric
Lining (& casing for measuring tape): 6 1/2" x 12" piece of contrasting cotton fabric
Interfacing for front pocket: 5 1/4" x 2 1/2" fusible interfacing
Interfacing for back: 5 1/4" x 4" fusible interfacing
Interfacing for front casing: 5 1/4" x 1" fusible interfacing
Zipper: 9 inches or longer
Two 5" lengths of 3/4" wide metal measuring tape
Thread
Finished bag: 5 1/2" wide x 4 1/4" tall

Directions: 

1. Before Sewing: Cut out all pattern pieces.

For front pocket and back: Attach the fusible fleece by centering it horizontally on the front pocket and back and 5/8" from the bottom of the pieces as shown below. The fusible fleece does not cover the seam allowances on the pocket front or back of wallet. This ensures less bulkiness in the seams.  

For lining (and casing for measuring tape): Turn over one 6 1/2" edge 3/8" and press. Then tuck the interfacing into the folded crease and center the fusible fleece horizontally on the lining as shown below. This interfaced edge will be the casing on the front of the wallet.


2. Making the front pocket: Now to make a little fabric sandwich:  a.) Place front pocket piece right side up, then place the zipper face side down with the pull tab at the left. b.) Place the pocket lining right side down on top of those pieces. Pin.


3. a.) About 1/4" from edge of fabric stitch together using your zipper foot. b.) Flip pocket front and lining so the wrong sides are together and zipper is exposed. Press fabrics away from zipper "teeth." Stitch through lining, zipper and front pocket 1/8" from edge of fabric.


3. Attaching front (pocket) to back: With right sides together pin bottom front pocket {and front pocket lining} to bottom back. Stitch using a 1/2" seam allowance. Press seam toward back.


4. Front measuring tape casing: Measure 1 1/4" from the previously folded edge of the interfaced lining and press. This will become the front casing for the snap (measuring tape) closure. Pin the folded edge to the zipper and stitch 1/8" from folded edge. You should have a 1 1/4" casing and the total measurement from the top of the casing to the bottom seam should be about 4 1/4". (see photo below)


5: Back measuring tape casing: Fold the lining over so it is 4 1/4" from the bottom seam to make the back casing and press.


Then fold the unfinished edge over just enough so the casing is 1 1/4"...


a.) Pin casing to back. b.) Stitch 1/8" from folded edge...


6. Stitch in a ditch: Secure the lining to the front of the wallet by running a stitch in the bottom seam through the lining. (See broken line in photo below.) This method is called "stitch in a ditch." If you are unfamiliar with this, go here. Important: the bottom seam allowance should be pressed toward the back of the wallet. This step should not be skipped as it will make a "bottom" for the zippered pocket.


7.  Finishing Zipper: Bring tab of zipper to the middle of the wallet and stitch over the ends of the zipper 1/4" from the edge of wallet side on both sides.


8. Here's where I get a little picky. Trim about 1/8" off both sides of the wallet with a rotary cutter so that the edges are clean and neat. The rotary cutter will easily slice through the zipper to make it flush with the sides. You can see the before and after in the photo below...


9. Finish one side of wallet: Fold the wallet in half right sides together. (The lining will be on the outside.) On one side only stitch 3/8" from the unfinished edge. Trim and zig-zag seam and put the wallet aside.


20. Measuring tape "Snap" Closure: Now for a little carpentry work. If you haven't already, dismantle a tape measure. Just undo the screws on the side of a measuring tape and take it apart. Be careful as you take it apart as the tape measure can "explode" when released from its confining metal case. Put a sturdy piece of tape on the end of the measuring tape to keep it wound.


21. Cut measuring tape lengths: Cut two 5" lengths off the measuring tape (with the crummiest scissors you have in your house), round the corners and tape the ends with masking tape to prevent the sharp edges from damaging your fabric...


22. Insert measuring tapes: Slip the metal measuring tapes into the casings at the top of the bag. The number side of the measuring tapes need to be facing toward the lining of the bag as shown in the photo below. Note one tape is facing "up" and the other is facing "down" because they need to be facing the lining on each side.


23. You're almost done: When you have the tapes shoved all the way inside the casing, pin the sides together and sew 3/8" from the unfinished edge of the side. Trim and zig-zag the seam.


24: Finished: Turn right side out, press and you're done!


If this tutorial was helpful, please take a moment and leave a comment below. Your comments give me the encouragement to continue sharing and creating!  Enjoy!


Linked to:

The CSI Project

Make it Monday @ Brassy Apple; Made by you Monday @ Skip to My Lou; Made Monday @ Toastie Studio; Get Your Craft On @ Today's Creative Blog; Party @ Northern Cottage; Ta-Da Tuesday @ Mommy by Day Crafter by Night; Sew Cute Tuesday @ Creative Itch; Show Me What You Got @ Not Just a Housewife; The Inspiration Board @ Homework; Show & Tell @ Blue Cricket Design; Hookin' Up @ House of Hepworths; Strut Your Stuff @ Somewhat Simple

Thursday, February 16, 2012

"Mommy Card" Give Away!


Yesterday I introduced the Mommy Business Cards that my friend Tawny created for my daughters for Valentine's Day. Whether you are a stay-at-home mom, work part-time or full-time these cards are an easy way to share information with other moms you meet. We often meet potential friends at our child's school, his daycare, church or the park. A mommy business card will eliminate the stumbling through your purse as you try to dredge up a scrap of paper and a pen so you can exchange pertinent contact information. With a mommy business card you have a card with just enough information {but not too much} for your new friend to contact you! These cards are also great to use as contact information for babysitters or when you drop off your child at someone's house for a play date. {They also fit perfectly in a Snappy Bag...}


Here's a sample of the cards Tawny created:

Birdies...


Flowers...


Chevron in Yellow...


And here's where you come in...

By commenting below you become eligible to win a Mommy Card PDF of your choice from Tawny. This prize can be for yourself or someone you love! You can then use this PDF to print your Mommy Cards.


In your comment, mention which card design strikes your fancy: "Birdies" -- "Flowers" -- or -- "Chevron". This contest will run through Tuesday, February 21st. The next day a winner will be announced. No anonymous comments please -- I need an email address or accessibility to a public blog in order to contact the winner. 


To find out more information or to order your own Mommy Cards from Tawny, go to her blog and send her an email with your request. {Her email address is located on her sidebar.} Tawny sells a PDF for custom Mommy Cards for the reasonable price of $10.

Good luck!