
 This "Plaque Attack" is just for you!
The month of August is a blur. We've had our kids and grandkids visiting for the past month, and my blog has felt the brunt of my attention to those very important people in my life. I'm not apologizing, just stating fact. As much as I love blogging, it pales in comparison to the importance of family. Four of our kids and their families came home at one time or another this month. Each one overlapping the next. The last kiddos leave on Thursday and things get back to "normal", until my husband and I leave for a Labor Day weekend get-away to visit another child and his family. Life is so good.
...Enough catching up. I have a very exciting announcement to make. Last Christmas I made a little Christmas plaque. (You can see it here.) After showing it off I offered to send the wording for the plaque via an email attachment to those who wanted to recreate a plaque for themselves. I thought a few people would take me up on the offer. I was actually very surprised by the number of people who responded.
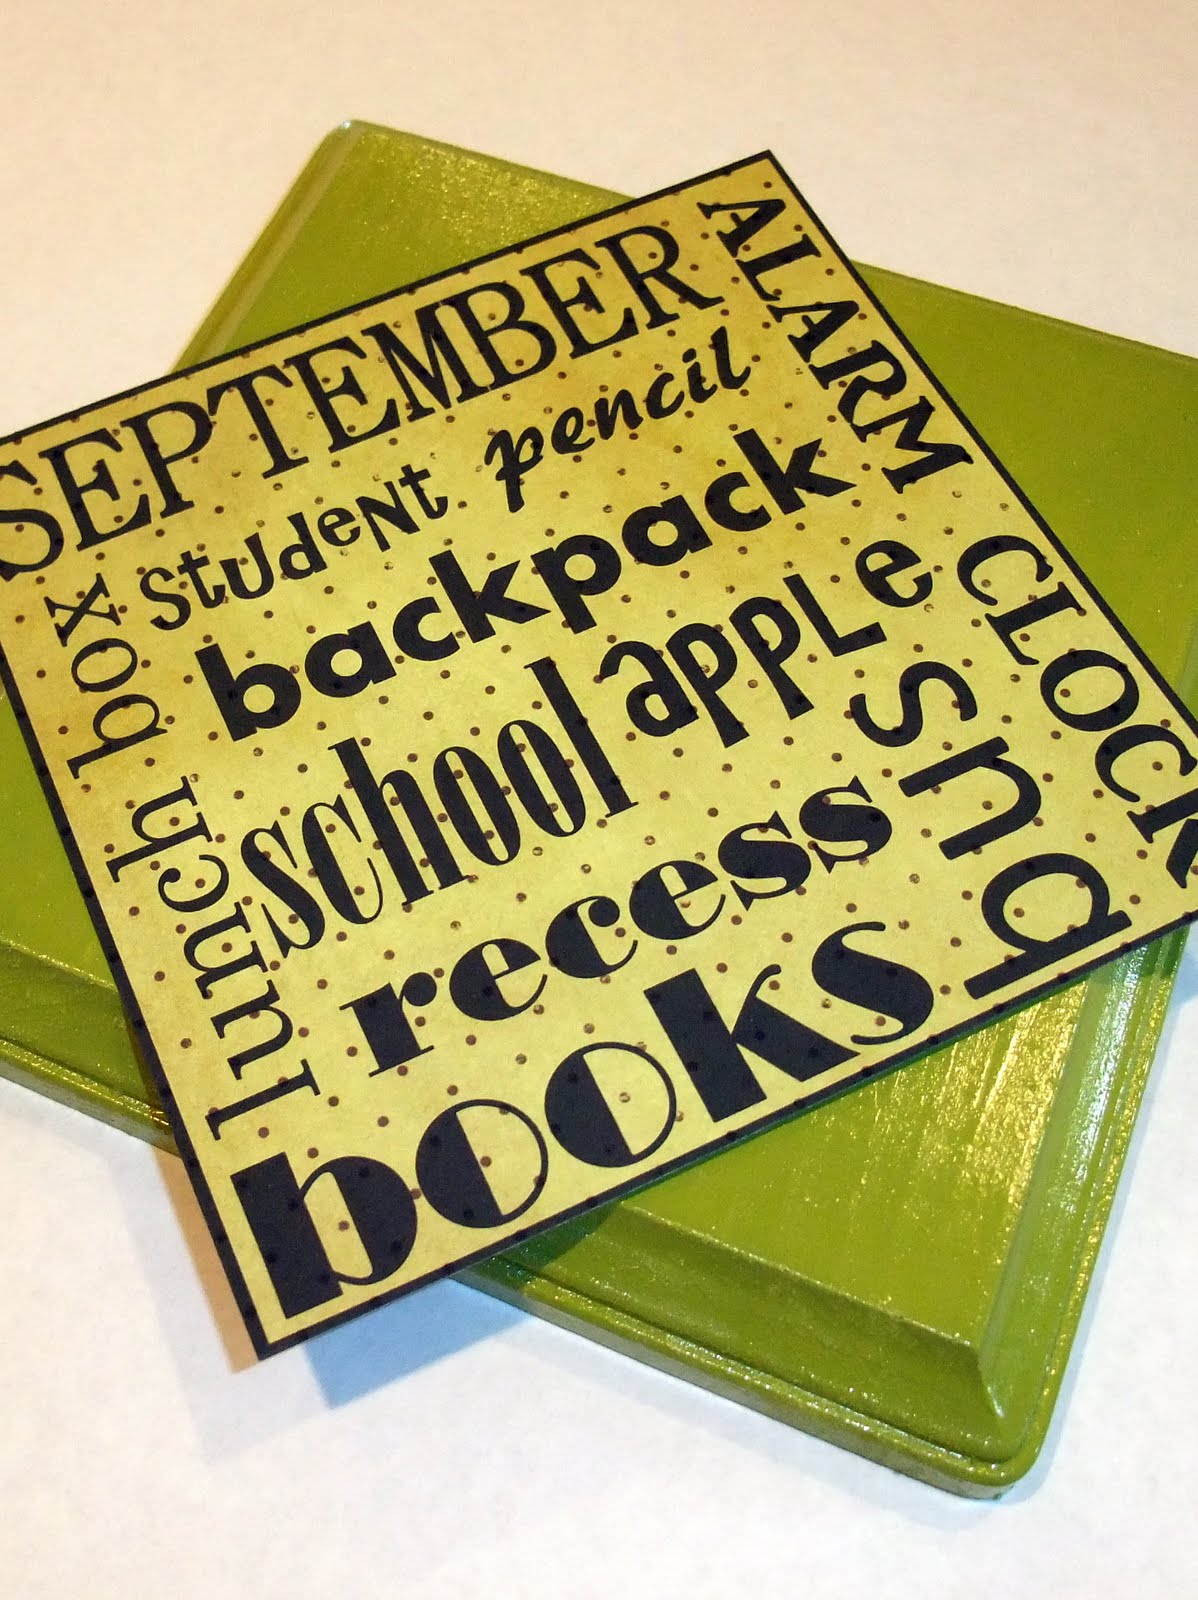 The other day I started thinking about this, and the idea of "Plaque Attack" was hatched! The best way to describe "Plaque Attack" is that it is a plaque-of-the-month club. Each month -- a few days before a new month begins -- I will make a post featuring a new plaque. The plaque wording will reflect holidays or activities unique to the coming month. If you like the plaque and would like to make one for yourself, you can email me requesting the document. (Make sure you specify the month you are requesting.) My email address is on my sidebar. I will be happy to send you the wording for the plaque in a power point document via email. No purchase necessary. All you will have to do is select a sheet of scrapbook paper and print it off!
Today we are going to start with our
September "Plaque Attack!"
September "Plaque Attack!"
Subway art is the rage right now,
so this plaque is in the form of just such a sign!
so this plaque is in the form of just such a sign!
You will need the following materials:
1- 6 1/2" square wooden plaque
1 - piece of scrapbook paper
Spray paint primer (optional, but recommended)
Spray paint in your choice of color
Mod Podge
Paint brush
Start by emailing me for the wording and printing it off on a piece of scrapbook paper. I chose an apple green color for my September plaque.
 A 6 1/2" square wooden plaque can be purchased at any hobby store. I found mine at Hobby Lobby for a grand total of $1.47. The wood products at HL go on sale at 50% off every few weeks, so you can always stock up when they do. Not that $1.47 is going to break the bank, but why not take advantage of sales -- especially if you are making multiple plaques for friends!
 I lightly sanded my plaque, primed it and painted it an apple green.
 When you print the wording onto scrapbook paper, let the paper rest for about 12 hours to fully dry the ink before you attach it to the plaque, otherwise the ink may run. Then trim the paper to the correct size of your plaque. Paint the front of your plaque with a layer of Mod Podge. Then do the same to the back of the scrapbook paper, and apply the paper to the front of the plaque. Make sure all bubbles under the surface of the paper have been eliminated and that the paper is nice and flat. I have found that as the Mod Podge dries little bubbles under the surface of the paper will flatten out.
 Suggestion: When using Mod Podge it is best to cover both surfaces with Mod Podge and then adhere the two surfaces together. Mod Podge adheres best to "itself." If you only apply Mod Podge to one of the surfaces, I have found the object you glue down has a tendency to peel off the other surface.
 Finally, liberally apply a finish coat of the Mod Podge over the entire front of the plaque to give it texture and sheen. Let dry...
 After it has dried you have a finished project that looks like this...
 The only materials that I needed to buy for this project were the wooden plaque and the scrapbook paper, so this project cost less than $2! You heard me right. For under $2 you can make a cute plaque that reflects the excitement of the start of the school year!
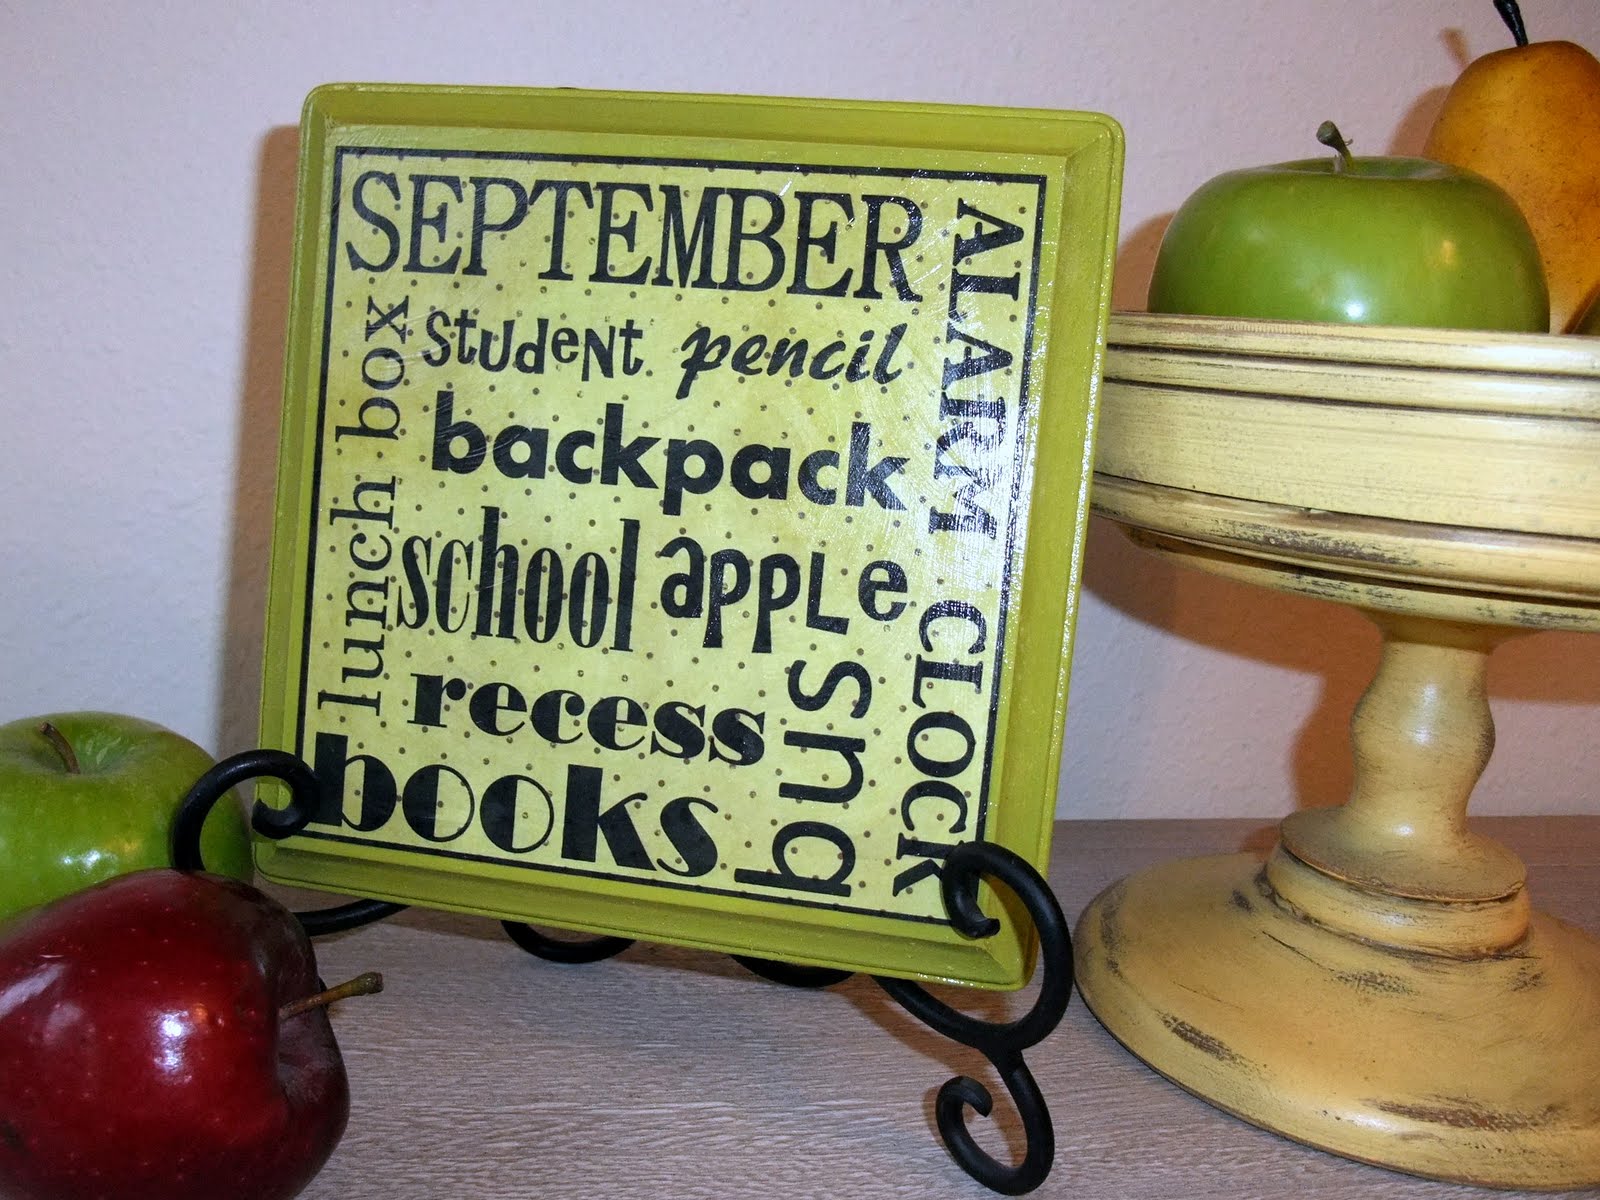 If you would like to make this "Plaque Attack" just email me and request "September's Plaque Attack!" I will shoot back the power point document so you can make one for yourself!
By requesting this document via email you are agreeing not to sell the pattern or sell products with this pattern on them. You may make as many products as you would like for personal use.
October's "Plaque Attack" promises ghosts, goblins, bats and cats!
Enjoy creating!

Linked to:
Frugal Friday @ The Shabby Nest
Frugalicious Friday @ Finding Fabulous
Friday Fun Finds @ Kojo Designs
My Creative High @ Those Northern Skies
Fabulous Friday @ Frou Frou Decor
Hookin' Up with House of Hepworths
Transformation Thursdays @ The Shabby Chic Cottage
Get Your Craft on Thursday @ Life as Lori
Show Off Your Stuff Party @ Fireflies & Jellybeans
Transform Tuesday @ The Pumpkin Patch
These Creative Juices Linky Party





