Monday, October 17, 2011

Crocheted Dishcloths

Update: 
I hate it when I get something wrong. It happens on a regular basis, but it still bugs me. Yesterday I published this post about these dishcloths that I had made. Unfortunately, I hadn't used one of them before I posted. Yesterday afternoon I took one out to use, and immediately I knew I'd made a mistake. My inspiration for making the dishcloths had come from a post, where the author called them "dish scrubbers." I had assumed she used an acrylic yarn (she didn't say otherwise), so that's what I used with mine. Unfortunately, when I went to use my dishcloth yesterday I knew immediately that the yarn needed to be cotton, not acrylic. Cotton is much more absorbent, and the acrylic is more coarse. I imagine the acrylic crocheted cloth would work as a scrubber on dishes, but I wanted to use mine for light dish washing and to wipe down counters, etc. For that use, the cotton is much better. Back to the drawing board... I have since made a cotton dishcloth and made adjustments to the list of supplies and instructions below to reflect using the cotton yarn. I have also changed the size of the crochet hook to a smaller hook which works better with the "I Love This Cotton" yarn at Hobby Lobby. There are other brands of cotton yarn though, and you may need to adjust the crochet hook to a larger size if your yarn is thicker than the "I Love Cotton" yarn. I truly hope this didn't inconvenience anyone... 

Go here for my 100% Cotton Dishcloths post!  


Last week I was sicker than a dog a little under the weather, so I decided to put the one thing to work that didn't hurt on my body {my hands} and do a little crocheting.


Earlier in the week I had pinned some crocheted dishcloths, so I thought I would make some for gifts...

 
Years ago I was given a couple of dishcloths like these as a hostess gift. I loved the organic, natural feel of them. They were wonderfully absorbent and amazingly resilient. I kept them for several years, throwing them in the washer whenever needed. I'm making mine to use as a homemade gift for friends and family for Christmas.


There are many patterns on the web for these dishcloths {including the one I pinned}, but after making a few I decided to use my own pattern. My pattern makes a tighter weaved dishcloth, which I like. {It's not too tight though, because I use a larger crochet hook.} Some of the other patterns lose their shape over time.


These cloths are a cinch to make and very inexpensive. One dishcloth can be completed -- even by the novice crocheter -- in 2-3 hours while watching TV. {Trust me on that one -- I did a lot of TV watching last week because I was ill!}


Here's what you'll need:
  • Cotton yarn (4-ply). {I would recommend cotton yarn rather than acrylic because it is much more absorbent. Hobby Lobby carries an "I Love This Cotton" yarn that works well.}
  • Size F crochet hook (you may have to adjust this depending upon the thickness of your yarn)
  • Scissors
1.) To make an 8.5" dishcloth, chain 34 stitches. 

2.) Then, insert the hook back into the second chain from the end and single crochet into each chain to complete the first row.

3.) When you get to the last chain, single crochet, chain one, turn and continue working a single crochet to the end of the next row. Like you did before, single crochet into the last stitch of that row, chain one and continue working in single crochet stitch until you end up with a square piece. You can tie off your ends at this point or complete the optional edging below like I did...


4.) Optional Edging: When you have a square piece and you are at the end of a corner: single crochet, chain one, single crochet into that corner stitch. Then continue working a single crochet all four sides -- treating each additional corner the same as above (sc, ch, sc).

5.) When you've finished all four sides, end with a slip stitch and tie it off. Weave both loose ends into your dishcloth with a darning needle or your crochet hook.

I'm making a bunch of these to use as little Christmas gifts for friends and family. I made a little tag to wrap around them with some cute fonts and cardstock. Then I secured the tag up with a little jute.


Linked to:
Show Me What You Got @ Not Just a Housewife
The Inspiration Board @ Homework

Friday, October 14, 2011

Wednesday, October 12, 2011

Some Pinterest Love...


You might have noticed lately a little red "Pinterest" button on my sidebar...


Until a couple of weeks ago, I hadn't given a whole lot of thought to Pinterest. Early on I learned how to see what items from my website were being featured on Pinterest, but other than that I hadn't given the website very much attention.

In case you are unfamiliar with Pinterest, let me explain: Pinterest allows you to create virtual {bulletin} boards of your favorite images, like these boards from my Pinterest site:


These images can be shared with followers, and you can discover new creations along the way. For me, it replaces the "bookmark" on my computer with a visually inspiring image, which helps me better remember what I'd like to work on and create in the future! If you’re looking for a minimalistic, visual approach to cataloging what you find interesting on the internet, Pinterest might be for you.

A couple of weeks ago one of my daughters-in-law was visiting. She showed me her incredible Pinterest collection and I was hooked. I signed up, added the "Pin It" bookmark, and started creating my boards.

{Tip: Once you sign up, the easiest way to pin items is to install Pinterest's “Pin It” bookmark. Then, any time you find an image on a website that you like, just use your “Pin It” button and you will be given options to pin any of the pictures on that post to one of your Pinterest boards. So simple!}

Here's my Pinterest site. Feel free to look around at some of the things I love and follow me if you'd like! There are also a few items from my blog tucked between the favorites I've found.

For those interested in seeing if any photos from your blog have made it to a Pinterest board simply do the following. Type <http://pinterest.com/source/>, then tack on your website.

For example if I wanted to check to see if my blog had any pins, I would type in the following:


You might be surprised at how many pins your blog has! 

Monday, October 10, 2011

Mod Podged Pumpkin

Sometimes I get carried away with Mod Podge. My motto: any item can be improved with a little Mod Podge. It's a good thing I wasn't familiar with it when my kids were little. As cute as my kids were when they were small they would have run the risk of being shellacked and placed on my mantle for display. Just sayin'...

The other day I was hankering for a fall item to display among my shabby chic decor on the landing in my entryway.  Although a splash of orange might have been cute with all that milky goodness, I imagined a more tone-down decoration for the space.

Below is a glimpse into my brain imagining that "tone-downed" decoration...


{I hope that glimpse into my brain didn't scare you too much.}

That's when I spied a pumpkin on the counter in my kitchen and decided it was just what I needed for this little redo. (Note: My pumpkin was a real, live pumpkin, but I imagine a fake pumpkin would work even better and be reusable year after year.) I took some brown mailing paper (found at most dollar stores) and tore it up into manageable pieces. Then I started Mod Podging those pieces onto the pumpkin...


By the time I was done and it had dried, it looked like the item below {not very impressive if you ask me}.


I then took a paper towel and using an ink pad I distressed the pumpkin a bit to give it a little more depth and character. Ahhh, much better.


Then I gave him a place to call home...


I'm thinking he fits right in...


Linked to:
Halloween Linky Party @ eighteen25
Show Off Your Stuff @ Fireflies & Jellybeans
DIY under $5 @ A Little Tipsy
Show & Tell @ Blue Cricket Design

Friday, October 07, 2011

Thursday, October 06, 2011

Printed Halloween Pillow


A couple of days ago I headed over to Graphics Fairy to have me a look-see. I love to check out holiday graphics when I visit, and yesterday I came upon a Halloween graphic that I loved. The image below is what pillows are made of -- at least at my house!


Last year I created a pumpkin pillow by printing a picture that I found at Graphics Fairy onto fabric, so I thought I would follow the same process to make another pillow with the image above.

All you need to begin the process of printing on fabric is a piece of paper (I've used regular copy paper or cardstock), some muslin fabric (cut slightly larger than the paper) and spray adhesive...

 
Start by ironing your fabric flat and laying it down on a hard, flat surface. Spray your paper with the adhesive, and carefully place it on the fabric -- adhesive side down. Press the paper onto the fabric, then trim your fabric edges to the exact size of the paper.

I downloaded the batty image from The Graphics Fairy onto my computer. 


Then I inserted the saved image into a Word document. Below is an image from my computer screen. It shows the dimensions that I enlarged the image to so it would fit horizontally onto my 8.5 x 11 inch piece of paper.


To print onto your fabric put your paper/fabric into your printer -- fabric side down (for inkjet printers).  Make sure you set the 'Print Quality' to "best." Then print the image onto your cardstock/fabric.When it emerges from the printer it will look like the photo below. Kinda cute, eh?


{Just a warning: There are some tutorials in blogland that tell you to tape your fabric onto paper to print. I tried that once. For me that method didn't work well at all. When you tape the fabric to the paper, the fabric tends to shift as it goes through the printer and the image prints unevenly onto the fabric.}

Let the ink on your fabric dry for several hours, then peel off the fabric from the paper. 


{Yet another warning: This method of transferring a print directly onto a piece of fabric is NOT washable. The image runs when it comes in contact with water. I would recommend this process for seasonal items that you only display for a month or two out of the year, so the need for cleaning would be diminished. Because it isn't washable, make sure all the water is drained from your iron -- don't press your seams using steam.}

Trim your fabric so there is about 1/2" on all sides of the image. I used 1/4" seams for all the seams. To make a pillow using the image as a middle panel cut two pieces of fabric 2 1/2" wide and as long as the side are (see below). Sew the middle panel to these side panels using a 1/4" seam.


Press the seams toward the side panels and topstitch the seams to the side panels 1/8" from the seam..


To make the top and bottom panels cut two more panels that are 2 1/2" wide and as long as the top and bottom measurements of the pillow. Stitch with a 1/4" seam, trim edges if necessary, press seams toward the top and bottom panels.


Topstitch the seams to the top and bottom panel 1/8" from seam...


The end result is a pillow about 11" x 12". I finished it off with a little ric rac tucked into the seams between the front and back of the pillow...


I kind of like this little pillow. 
This is about as "scary" as I get for Halloween.


Truth is I'm a fraidy-cat at heart.


{Shiverrrr}


Linked to:
Halloween Linky Party @ eighteen25
Friday Fun Finds @ kojodesigns
All Things Spooky @ All Things Thrifty
ffa Friday @ Sassy Sites
Friday Flair @ Whipperberry
Catch as Catch Can @ My Repurposed Life

Wednesday, October 05, 2011

October's Plaque Attack...


After a one month hiatus, the Plaque Attack Club is back! Many thanks to those who made such wonderful suggestions last month for "themes" for the monthly plaques this year. This month I created a plaque that will be applicable to us all! The theme... birthdays!!!

Without further ado, here is October's Birthday Plaque...


In order to receive this document, please read the following instructions. 

For those new to the "Plaque Attack Club," each month I feature a new printable document. Last year the plaque wording reflected holidays or activities unique to each month of the year. This year the plaque wording will reflect events in our lives or meaningful quotes! If you are new to the "Plaque Attack Club" know that you'll need to check back every month to receive each new document.


For a list of supplies and a tutorial on how to make these plaques, go here.


I am offering October's Birthday Plaque Attack in a Word document for anyone requesting it. Simply leave a comment below and consider becoming a follower of my blog. Then send me an email (my email address is on my sidebar under "Welcome" -- "Contact Information") with the words "October's Birthday Plaque Attack" in the subject line of the email. I will return your email with the plaque image attached in a Microsoft Word document. {I will be out of town for a few days toward the end of this week, so if you request the plaque document during that time, please know that I will get back to you toward the middle of next week.}


Important: 
© By requesting this document via email you are agreeing not to sell the pattern or sell products with this pattern on them. You may make as many products as you would like for personal use, gifts or fundraisers.


Enjoy!

Linked to:
First Ever Linky Party @ JaQs Studio
Hookin' Up with House of Hepworths
Strut Your Stuff @ Somewhat Simple
Show Off Your Stuff Party @ Fireflies & Jellybeans
DIY Under $5 @ A Little Tipsy
Show & Tell @ Blue Cricket Design
Link Party @ Tea Rose Home

Tuesday, October 04, 2011

Halloween Tutorials & Patterns...


From my blog archives, come two posts and tutorials that you might be interested in...


Linked to:
Handmade Tuesday @ Ladybug Blessings
Made with Love @ Sew Chatty
The Inspiration Board @ Homework

Bloomin' Tuesday


FYI: October's Plaque Attack will be posted tomorrow!

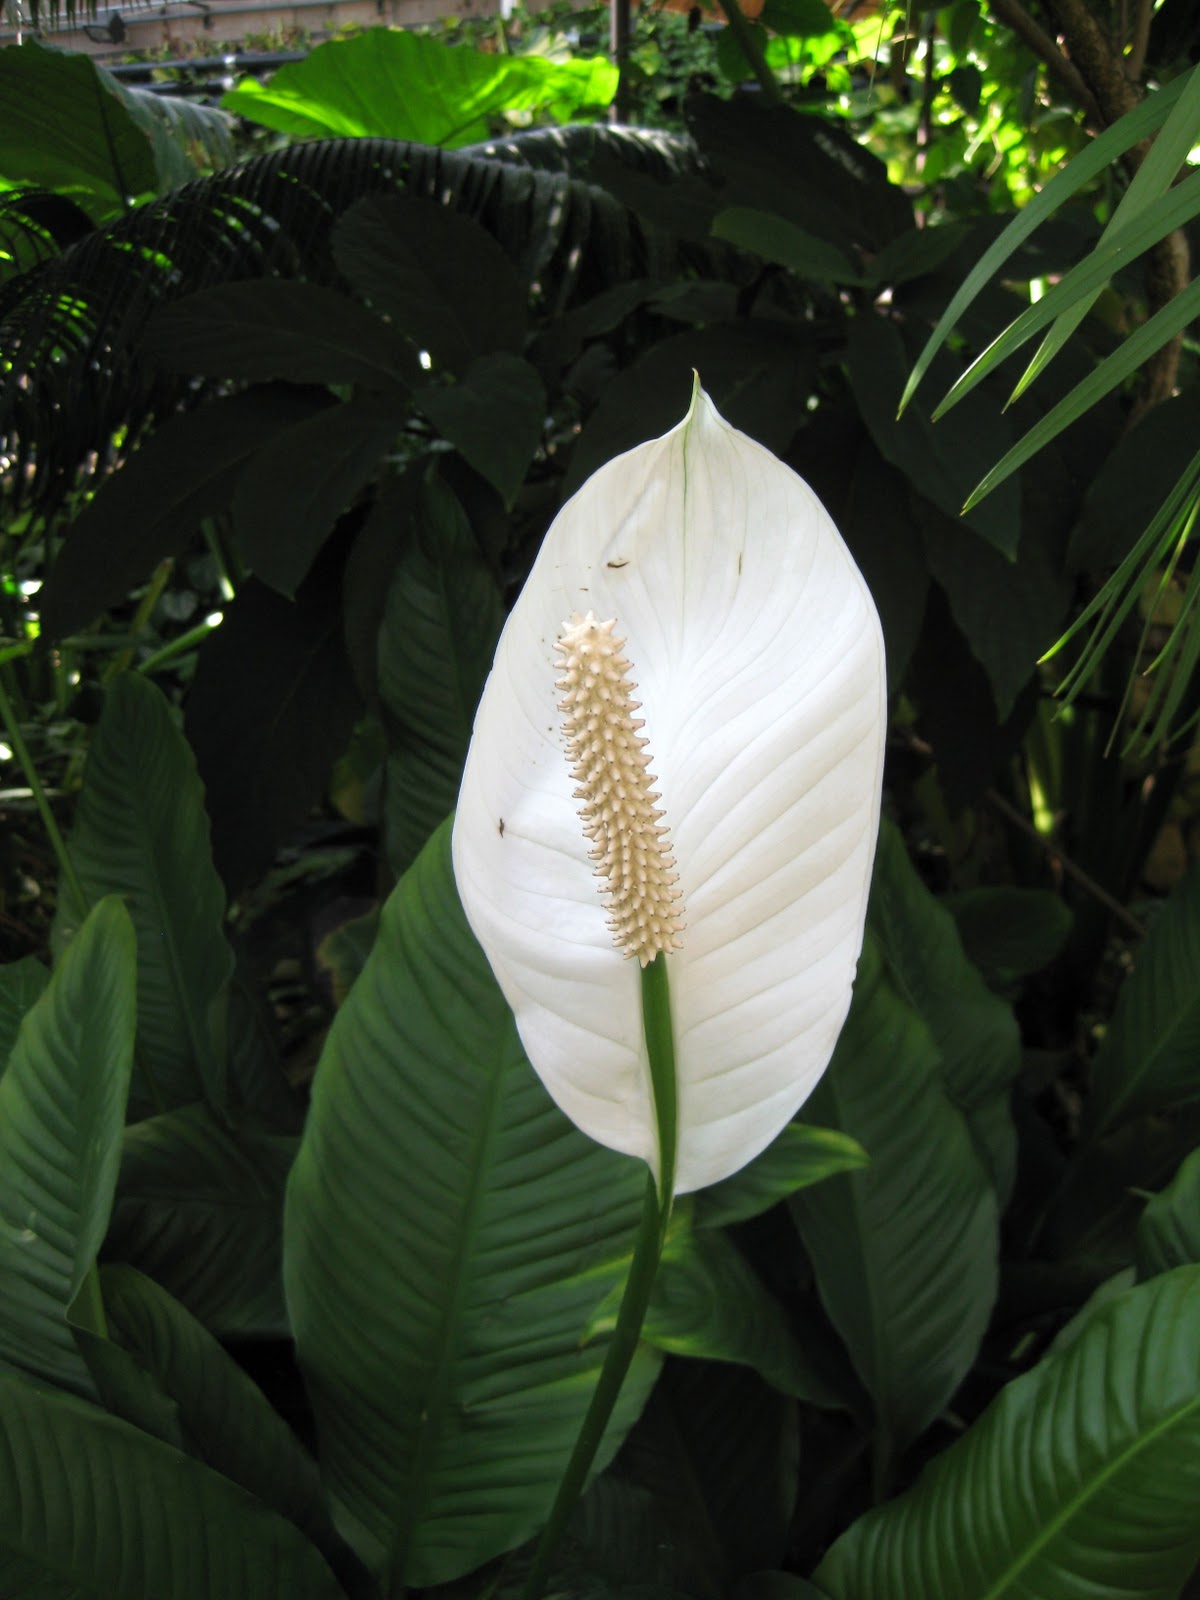
Last week I visited The Butterfly Pavilion in Westminister (Colorado) with my visiting family members. In the butterfly exhibit there are over 1,200 free-flying tropical butterflies to enjoy. It delights the young and old! There are also a number of beautiful tropical plants in the rain forest exhibit. I thought I'd share some photos I took of those for my Bloomin' Tuesday post this week...


Linked to:
Bloomin' Tuesday @ Ms. Green Thumb Jean's
Garden Tuesday @ Sidewalk Shoes


Sunday, October 02, 2011

Thankful Thoughts...

What delighted me this week? 
 We've had a full house. Four of our grandchildren and their parents came for a visit this week. I think every piece of framed art on our walls is slightly askew. Those who have grandchildren (or children) will understand that statement. The decibel level in our home went up exponentially as each little one entered the house! It was so delightful to be surrounded by those little people and their parents. I'm happiest when I have family around me.

Another thankful thought...
My husband and I celebrated our 34th wedding anniversary last week. We were toddlers when we wed... :o)  I can't imagine having lived my life without this man at my side. He is such a good, kind man, and I'm so thankful that he is mine and I am his.

What challenged me this week?
Have you ever tried to write your spiritual conviction in a short, concise paragraph or two? It's a challenge. Our church (The Church of Jesus Christ of Latter-day Saints, sometimes referred to as "Mormons") has given its members an opportunity to create a profile and share their spiritual story on Mormon.org, so this week I embraced that challenge and created my profile. I love this website. It's not only inspirational, but it's a great place to go for accurate information about our church. Feel free to read my profile here.