Tuesday, March 27, 2012

Bloomin' Tuesday

I can't believe it's the end of March and I'm already publishing a Bloomin' Tuesday post! Seventy plus degree weather seems to bring out the best in trees and plants. We've had a warming trend for the last several weeks -- temps in the 70's and bright sunshiny days -- which is gorgeous spring weather that is somewhat unusual for this time of year. Granted Colorado weather is delightful much of the time, but average temps are closer to the 60's in March than the high 70's. As a result this year the trees and bushes are budding unusually early...


 {Peach Tree} 

As much as I love these beautiful blossoms at night we're still awfully close to freezing temps. Fruit is unlikely this year since they are budding so early. We didn't get any peaches last year for the same reason. I love peaches, so I'll hold some positive thoughts. The pear tree is also showing off...


{Pear Tree}

Typically our lilac bushes are in their element throughout the month of May. If the warm weather keeps up we'll have a centerpiece of lilacs on our table for Easter. Lilacs are one of my favorite cut flowers. I love their spring green leaves, their deep purple flowers, the way they drape over a vase, and their gorgeous fragrance!

{Lilac}

Even the Pansies and the Primroses are in flaunting mode...

 {Pansy}

 {Primroses - above & below}


Spring is definitely in the air!

Linked to:
Garden Tuesday @ Sidewalk Shoes
Bloomin' Tuesday @ Ms Green Thumb Jean


Monday, March 26, 2012

How to Recover an Outdoor Patio Cushion

Last fall I neglected to bring the outdoor cushions and pillows from our patio furniture inside for the winter. Big mistake. You'd think I could have managed to do that sometime between the months of October and March, but no. I'm obviously a very busy woman. Anyway, when I took a good look at the cushions last week I knew something would need to be done.

Exhibit #A - Faded and worn looking cushions...


Contrary to popular belief there are some things I'd rather buy than have to make myself -- patio cushions being one of those things. A few days ago I set out to find some reasonably priced cushions for our patio furniture. What I found was that they are ridiculously over-priced. When I totaled all the pieces I needed for our three patio sets it was well over $200. I might be able to rationalize spending that amount of money if I could find some attractive cushions, but I couldn't. At all. Most of the chair pads, cushions and outdoor pillows look like they belong in a cabana in the Bahamas or a grass shack in Hawaii. While that might be nice if you live on an island or by the ocean, when you live smack dab in the middle of the Rocky Mountains tropical prints tend to look a little out of place. Also, most of the cushions I found were in dingy, dark and outdated fabrics. Once again, I turned to my faithful sewing machine and some fabulous outdoor prints from Hancock Fabrics and came up with the chair pad below. {Please ignore the bright turquoise chair -- it will be spray painted a deep espresso brown later this week.}

Exhibit B - Newly recovered chair pad...


Several other coordinating fabrics will grace the other pieces of furniture on our patio {I'll show those later}, but for now I'd like to show you how easy it is to refurbish and recover tired looking patio cushions.You simply need to use the fabric of the old cushion as a pattern for the new. Then you take the innards of the former cushion and use them to fill the new cover.

Start by taking apart the old cushion. This is what the cover of the chair pad looked like after I had deconstructed the old cushion and used it as a pattern piece to cut out the new fabric...


It's funny how the new piece looks larger than the old one, but they are the same exact size. As you take the cushion apart pay attention to how it was constructed and where to place the ties. This cushion is particularly simple, but even more complicated versions are fairly easy to reconstruct. For this version you simply fold the fabric in half and sew -- leaving a hole in the seam to use to fill cushion. It couldn't be easier. Make sure you put the new ties into the seams at the appropriate places, box the front corners, refill with the padding of the former cushion and sew up the hole! It's such an easy process and you can get remarkable results...

{fabric: "Kimono" by thomaspaul for Suburban Home}

This fabric cost $13.99/yard on sale (reg. $19.99) at Hancock Fabrics. Fabric.com has more reasonably priced outdoor fabric, but I fell in love with the prints at Hancock's. It will cost me about $120 to make all the cushion covers that I need for our patio furniture, which is kind of pricey for a DIY project, but I'm still saving a bundle and getting exactly what I love! This time when I'm finished making all the pieces I'm spraying them with Scotchgard as well. This will help prolong the life of them.

Here's a sneak peak at one of the outdoor pillows that I refurbished over the weekend also. 
First the old one...


...and below is the same form newly recovered
 in one of the coordinating fabrics I bought at Hancock Fabrics.

{fabric: "Bird Tree" designed by thomaspaul for Suburban Home} 

I'm going to be busy this week recovering the rest of the cushions and spray painting a table and chairs.  Luckily, it's going to be the perfect weather to paint!

 
Love those little birdies!
Check out more patio cushion redos here!

Linked to:
DIY Under $15 @ A Little Tipsy

Sew Cute Tuesday @ Creative Itch; Trash to Treasure @ Sassy Sites; Get Your Craft On @ Today's Creative Blog; Made by You Monday @ Skip to my Lou; Made Monday @ Toasties Studio

Saturday, March 24, 2012

Chicken Pot Pie

I don't cook much these days. About five years ago when our last child scooted off to college my husband gave me an excuse to never set foot in a kitchen again. By then I had cooked about 32,000 meals for our family of nine. He told me I'd done my time. It's one of the many reasons I love that man. Since then I dabble in the kitchen whenever the mood strikes. It struck a few days ago...


Chicken Pot Pie isn't a recipe you hear much about these days, but it's a favorite of mine. There's something down-home and delicious about a pastry filled with creamy chicken and veggies. Over the years I've tweaked the recipe a bit and come up with one that I love, so I thought I'd share. This is one of the easiest recipes there is to make -- especially the way I make it. It takes about 15 minutes to put together and another 40 to bake. I often pair it with a spinach salad and my Banana Chocolate Chip Muffins.


I often make Chicken Pot Pie when I deliver a dinner to a brand new mother or someone who hasn't been feeling well. It's easy on the tummy, and I can easily double the recipe and leave one pie at home and take the other to someone in need. To save time you can buy an already-cooked rotisserie chicken in the grocery store instead of cooking your own. Most often I buy two large chicken breasts and bake them in some water in the oven beforehand. You can then use the liquid they were baked in as the "chicken broth." If you don't have cream on hand, you can always substitute milk and add a little more flour for thickening. (I prefer using light cream.) I also cut corners by using a ready-made refrigerated pie crust -- which comes two crusts to a package.

Chicken Pot Pie

Pastry enough for one 9 inch two-crust pie (or 1 box Pillsbury Refrigerated Pie Crust)
3 Tbsp. butter or margarine
3 Tbsp. flour
1 teaspoon salt
1/4 teaspoon black pepper
1/8 - 1/4 teaspoon thyme
2 large chicken breasts - cooked and diced
3/4 cup chicken broth
3/4 cup light cream
1 - 12 oz. bag of frozen peas and carrots - cooked and drained
4  green onions - sliced small

Heat oven to 425 degrees. Make your own pie crust or if you bought a ready-made refrigerated pie crust take them out of the refrigerator and out of the box to warm to room temperature while you are making the filling.

Melt butter in small saucepan over low heat. Blend in flour, salt, pepper and thyme. Cook over low heat, stirring until mixture is smooth and bubbly. Stir in chicken broth and cream. Heat till boiling, whisking constantly. Boil and stir 1 minute, take off heat, and put aside. 


Add the already cooked and diced chicken to a mixing bowl along with the already cooked and drained veggies and sliced green onions. Fold cream sauce into chicken and veggies. Set aside.

Roll out dough for the bottom crust and fit into a regular (not deep-dish) 9 inch pie pan. Fill crust with creamed chicken and veggie  mixture. Top with the second crust. I usually brush a little cream that I have left over on top of the pie crust. To protect the crust from excessive browning or burning I cover the edges of the crust with strips of aluminum foil before placing the pie in the oven. Then I remove the foil for the last 10-15 minutes of baking. Bake 35 to 40 minutes or until golden brown.

About 6 - 8 servings.


 Enjoy!


Thursday, March 22, 2012

Restocking the shelves...

I think I've sold more in my Etsy store in the last few weeks than I did all of last year. Of course, I've paid more attention to my Etsy these last few weeks than I did all of last year. There's definitely a correlation between the two!


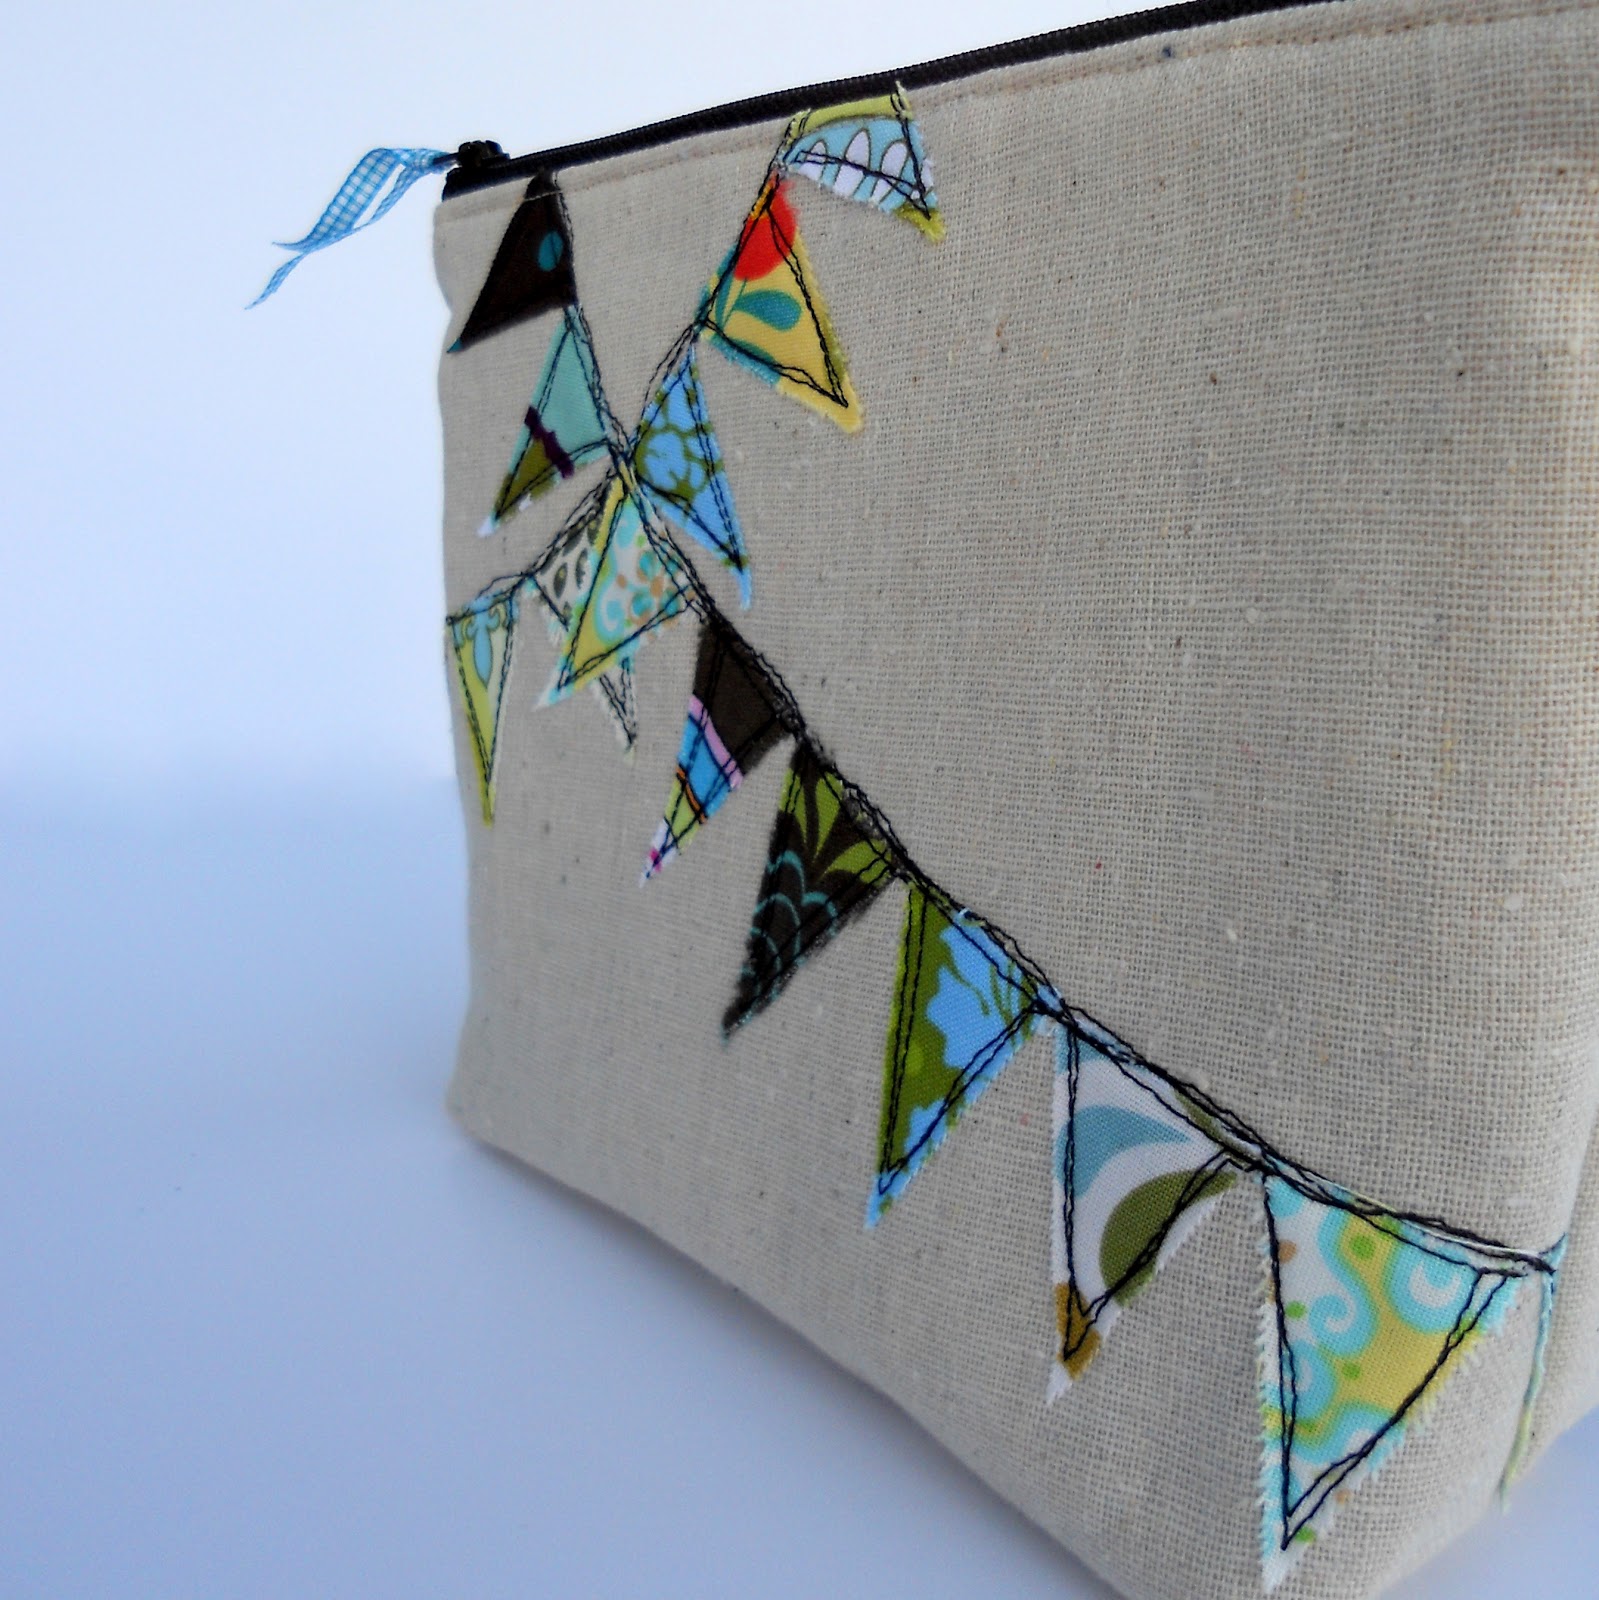
Just wanted you to know that I restocked shelves today and added a few more of my bunting cosmetic bags to the mix...


One of these days I need to make one for myself... ;o)


Wednesday, March 21, 2012

Little Bunny Boo Boo

When I was a little girl -- back when dinosaurs roamed the earth and the term "politically incorrect" hadn't been invented -- we used to sing a song in elementary school. It started like this...

Little Bunny Foo Foo went hoping through the forest, 
Picking up the field mice and bopping them on the head...

I'm fairly certain that song isn't sung in grade schools anymore. There's probably a "Preservation of Rodents Society" that would be all over them if they did. Anyway, as I was making the little Easter Bunnies for my grandbabies, that song kept running through my mind. As a result I'm calling this bunny pattern "Little Bunny Boo Boo."  It's a play on words. The "Boo Boo" refers to the fact that this pattern can be made into a rice-filled cooling or heating pad to soothe a child's skinned knee or tummy ache -- just like my Chick-sicles and Love Birds.


I mentioned yesterday that there are multiple purposes for this bunny. Another application is it could be used as a "tooth pillow."  Before the child goes to bed her "lost" tooth is placed in the front pocket of the bunny for safe keeping. During the night the tooth fairy pays a visit and exchanges the tooth for some cold hard cash. I think the rather significant looking choppers on this bunny lends itself to being a used in that way too.


The last purpose is to use the pattern as an Easter gift. Later it could be used for one of the other purposes, but for Easter you could hide treasures in the little pocket,  like jelly beans or {hmmm, let's say} a vegetable...


The pattern and instruction for "Little Bunny Boo Boo" can now be found in my Etsy shop and can be purchased for the reasonable price of $7.


Tuesday, March 20, 2012

Bunnies...

I'm told bunnies reproduce rapidly, which is what happened at our house in the last 24 hours. In a post I published yesterday I mentioned that I'd designed a Bunny Pattern, but it needed to be tweaked. Tweaked it was and what followed could only be described as an explosion of bunnies! Four to be exact...


These little bunnies will find homes with our four little grandbabies for Easter. 


The bunnies are made from flannel fabric, so they will be comfortable against their baby soft skin...


There are three purposes for these bunnies. 
I'll explain the various uses tomorrow when I post the pattern...


Till then, have a nice day!

Linked to:
Inspiration Board @ Homework
Show Me What Ya Got @ Not Just a Housewife
Sew Cute Tuesday @ Creative Itch
TaDa Tuesday @ Mommy by Day; Crafter by Night
Get Your Craft On @ Today's Creative Blog
Handmade Tuesday @ Ladybug Blessings

Monday, March 19, 2012

Little Bunny...

On Friday I tried my hand at making a bunny that I want to make for our quadruplet grandbabies for Easter. We don't have quadruplet grandbabies in the real sense -- each one has a different set of parents -- but they were born within months of each other last year, so they are very close in age. Anywho, they aren't old enough to appreciate a Snap Trap (what I've made for the other grandchildren for Easter), so I had to come up with something different for them.

I started with a sketch and went from there. Generally when I create a pattern it needs to be tweaked at least once before I get it right. This was no exception. It needs to be enlarged in areas, so I'm back to my sewing machine this morning to try my hand at it a second time. If I get it right I'll be ready to share the pattern and tutorial. This little bunny has a dual purpose that I'll tell you about later. For now here's a little sneak peek at my first attempt...


Have a beautiful Spring day!

Saturday, March 17, 2012

Margerita Pizza with Chopped Pear Salad...


My husband and I have been feasting upon Margerita Pizzas of late. We've had some in several different restaurants that were fabulous, so I decided to try my hand at making one at home. How hard could it be -- a few tomatoes, some basil, mozzerella and you're done! Here's my version that takes about 15 minutes to make from start to finish...

Easy Margerita Pizza
Place 1 tube Pillsbury Refrigerated Classic Pizza Crust onto a 14 inch pizza pan or cookie sheet. Prebake the pizza crust for 4-5 minutes in a 400 degree oven. Remove from oven. Drizzle a little olive oil on top of the crust, add a very thin layer of pesto sauce, some fresh snipped basil and a sprinkling of grated Parmesan cheese...


Next, layer fresh mozzarella slices and arrange thinly sliced and deseeded tomatoes (I used plum tomatoes) around the crust on top of the cheese. Add a little more snipped basil and a dab of olive oil if you'd like.


Bake about 5-10 minutes in the already warm 400 degree oven until the cheese is melted. Check pizza often while baking to avoid burning the crust. Remove from oven and let sit a couple of minutes to cool before slicing. This pizza takes so little effort that you'll feel like you're cheating when you bite into its deliciousness!


Now for the fabulous salad -- my favorite part. I will give you the recipe for a larger group, but for my husband and me I use the ingredients below and just put in smaller amounts of the items to make enough for the two of us.

Chopped Pear Salad
3-4 cups chopped bibb or romaine lettuce
3-4 cups fresh baby spinach leaves
2-3 medium pears, chopped (can use canned when not in season)
1 cup dried cranberries (Craisins)
1 cup sugar and spiced pecans (recipe below)
8 slices bacon, cooked crisp and crumbled (optional, but yummy)
6 oz. feta cheese, crumbled
Poppy Seed salad dressing
Balsamic Vinaigrette (I like "Newman's Own Light")

You may arrange this salad on a platter by layering the ingredients and then drizzling salad dressing over the top, or put it in a bowl and toss. I use about 75% poppy seed and 25% vinaigrette dressing. Experiment with the dressings to discover your preference. I love the combination of flavors in this salad!

Sugar and Spiced Pecans
Add about 1/4 cup sugar, a pinch of dried red pepper and 2 Tbsp. water to saucepan over medium heat. Stir in about 1 - 1 1/2 cups pecans and stir until the sugar is somewhat dissolved and the pecans are coated well. (To add more pecans just add a little more sugar and water.) You need to be attentive because the sugar can burn easily. Transfer to a cookie sheet to cool. When cool break up into individual pieces. 


I made this pizza and salad the other night for dinner. While the pizza was baking I threw together the salad. From start to finish this meal took 20 minutes to make. Seriously good for just a little effort!

Friday, March 16, 2012

Friday's Fabulous Finds...


I spy with my Etsy eye something... 
just peachy!


Clockwise, starting top left:


Wishing you a wonderfully, warm Spring weekend!

Etsy Shop News...

Thanks to the readers who took advantage of the free 24 hour headband pattern give-away on my blog yesterday. More than 100 readers received the free pattern, which made me really happy!

A couple of weeks ago I mentioned that I would be revising my Etsy shop a bit. Yesterday I spent the day restocking shelves. Currently, my "Fabric Flower Headband Pattern" is in stock waiting to be purchased by anyone interested for the cost of $3!


I often receive emails asking if I am going to be selling ready-made items from free patterns and tutorials I've published on my blog. This request usually comes from those who don't know how to sew. I haven't done a lot of that in the past, but yesterday I made room for 10 already-made Fabric Flower Headbands. I've priced them very competitively, and with the purchase of a headband the buyer can receive the pattern free of charge! Sweet little deal if you ask me.


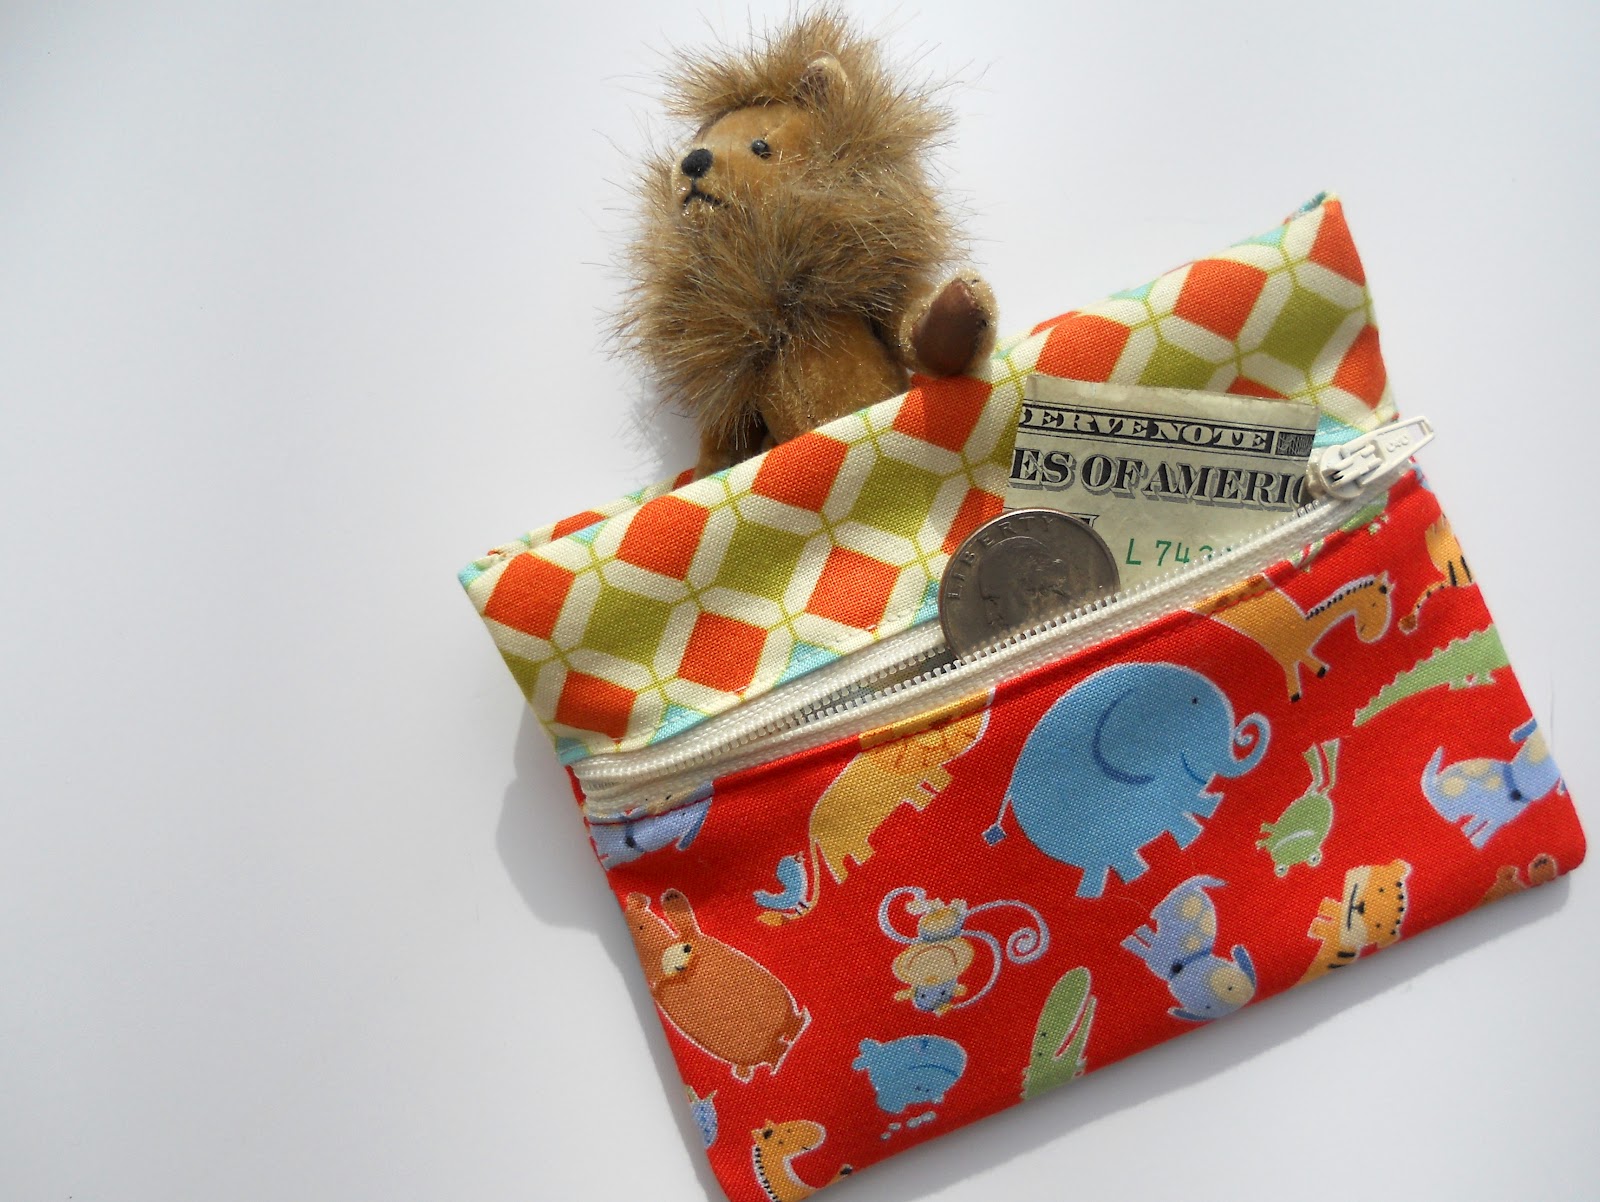
Also included in my Etsy are some "Snap Trap Wallets for Children!" These items are perfect for the little man or woman in your life. It's an ideal wallet for a child with lots of valuables and treasures!


Last but not least, I've included some "Bunting Cosmetic Bags" in the store. I love these beautiful and fresh little bags. This bunting bag might be the perfect gift for a mother on Mother's Day ... {just sayin'}


In the coming weeks more items will be placed on the shelves, but I feel good about the start I've made in updating my Etsy. I've tried to make and price items that won't break the bank for the buyer.  Hopefully I've accomplished that!

Today I'm going to be creating a little softie bunny for Easter for our grandbabies. I hope it turns out. If it does I'll share it with you next week!