
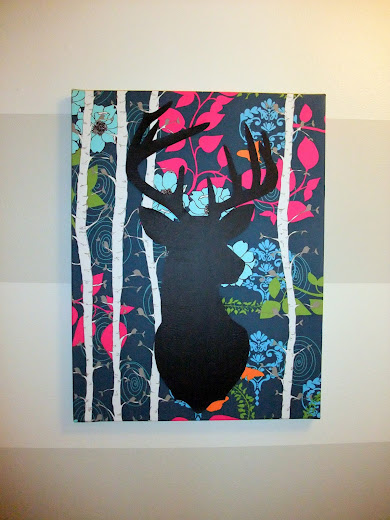
Here's a tutorial of my favorite creation for quite some time. It has everything I love in one beautiful package ... gorgeous fabric, an animal silhouette, damask, a variety of textures, nature, and bold colors! For me, it's a perfect bundle of lusciousness.

You might remember the little wall that I painted with stripes a few weeks ago...

As you can tell, it's an unusual grouping of walls in our basement because it follows the curved staircase going up to our main floor. I have a short bookcase that goes in that middle panel of walls that I will be refinishing soon, but I knew I needed something to hang above the bookcase.When I saw the fabric below, I knew exactly what I wanted to create. I'll share with you how I created this Deer Silhouette Wall Art.


Materials Needed:
1 - 18" x 24" artist canvas
1 - piece of 100% cotton fabric, 30" x 36"
1 - piece of fusible bonding web, 17" x 23"
1 - piece of black imitation black leather fabric, approx: 18" x 24"
Upholstery stapler and staples
Fabric glue
Begin by buying the least expensive artist canvas you can find. You can purchase an 18" x 24" artist canvas for $13.99 at Hobby Lobby -- much less if you use the 40% off coupon. Cut a piece of 17" x 23" fusible bonding web. (Fusible web -- sold on the bolt as Stitch Witchery, Heat N Bond and other trade names -- fuses two fabrics together.)
Cut a piece of 100% cotton fabric (I used "Finnelopy" in Indigo) 30" x 36" to wrap around the front of the canvas. Center the fusible web onto the cotton fabric and fuse the web to the fabric. Next lay your fabric right side down on a counter and place the front side of the artist canvas over the fusible web (the canvas will be 1/2" larger than the fusible web on all four sides). Fuse the canvas to the fabric by ironing through the back of the canvas. This step will give the cotton fabric more body and secure it to the canvas while you are stapling the fabric to the back of the frame of the artist canvas. Is it necessary to use the fusible web? No. But, for me, it made it much easier to align the fabric properly on the canvas by fusing it to the canvas first and then stapling the edges. Trim the edges of the cotton fabric to cover the frame on the back of the canvas. When finished with these steps you will have a framed canvas that looks like this.
Front:

Back:

Next, google "deer silhouette image" and shop around for an image that strikes your fancy. It was easy to find an image that I particularly liked. There were many to choose from:

I enlarged the image I chose (bottom left) on my printer/copier so it was about 22 inches tall then cut out the image and traced the mirror image onto the back of the piece of imitation leather fabric. The "leather" I used had a lighter fabric backing on the underside of the fabric (see below), which made it easy to trace.

After cutting the image out of the fabric, I carefully ran a black permanent marker along the edge of the fabric of the deer image to make sure the edge looked as black as the front of the fabric. The leather silhouette is below. It's difficult to see the texture of the leather, but it's really gorgeous and the leather fabric doesn't unravel at the edges at all!

All that's left to do is to glue the leather fabric onto the cotton wrapped canvas. Use a good quality fabric glue for this part of the project. Lay your image on top of the cotton wrapped canvas and position it carefully. Then put straight pins through the canvas around the image to help guide the placement of the leather as you glue it down, like this...

Using the fabric glue, glue the "leather" fabric down starting at the bottom of the deer and working your way up to the antlers. Be careful not to put the glue too close to the edge because you don't want any glue to seep out past the edge of the deer. Remove the pins. Carefully turn the canvas over onto a counter and place some heavy books on top of the back of the canvas to help join the two fabrics together more fully.


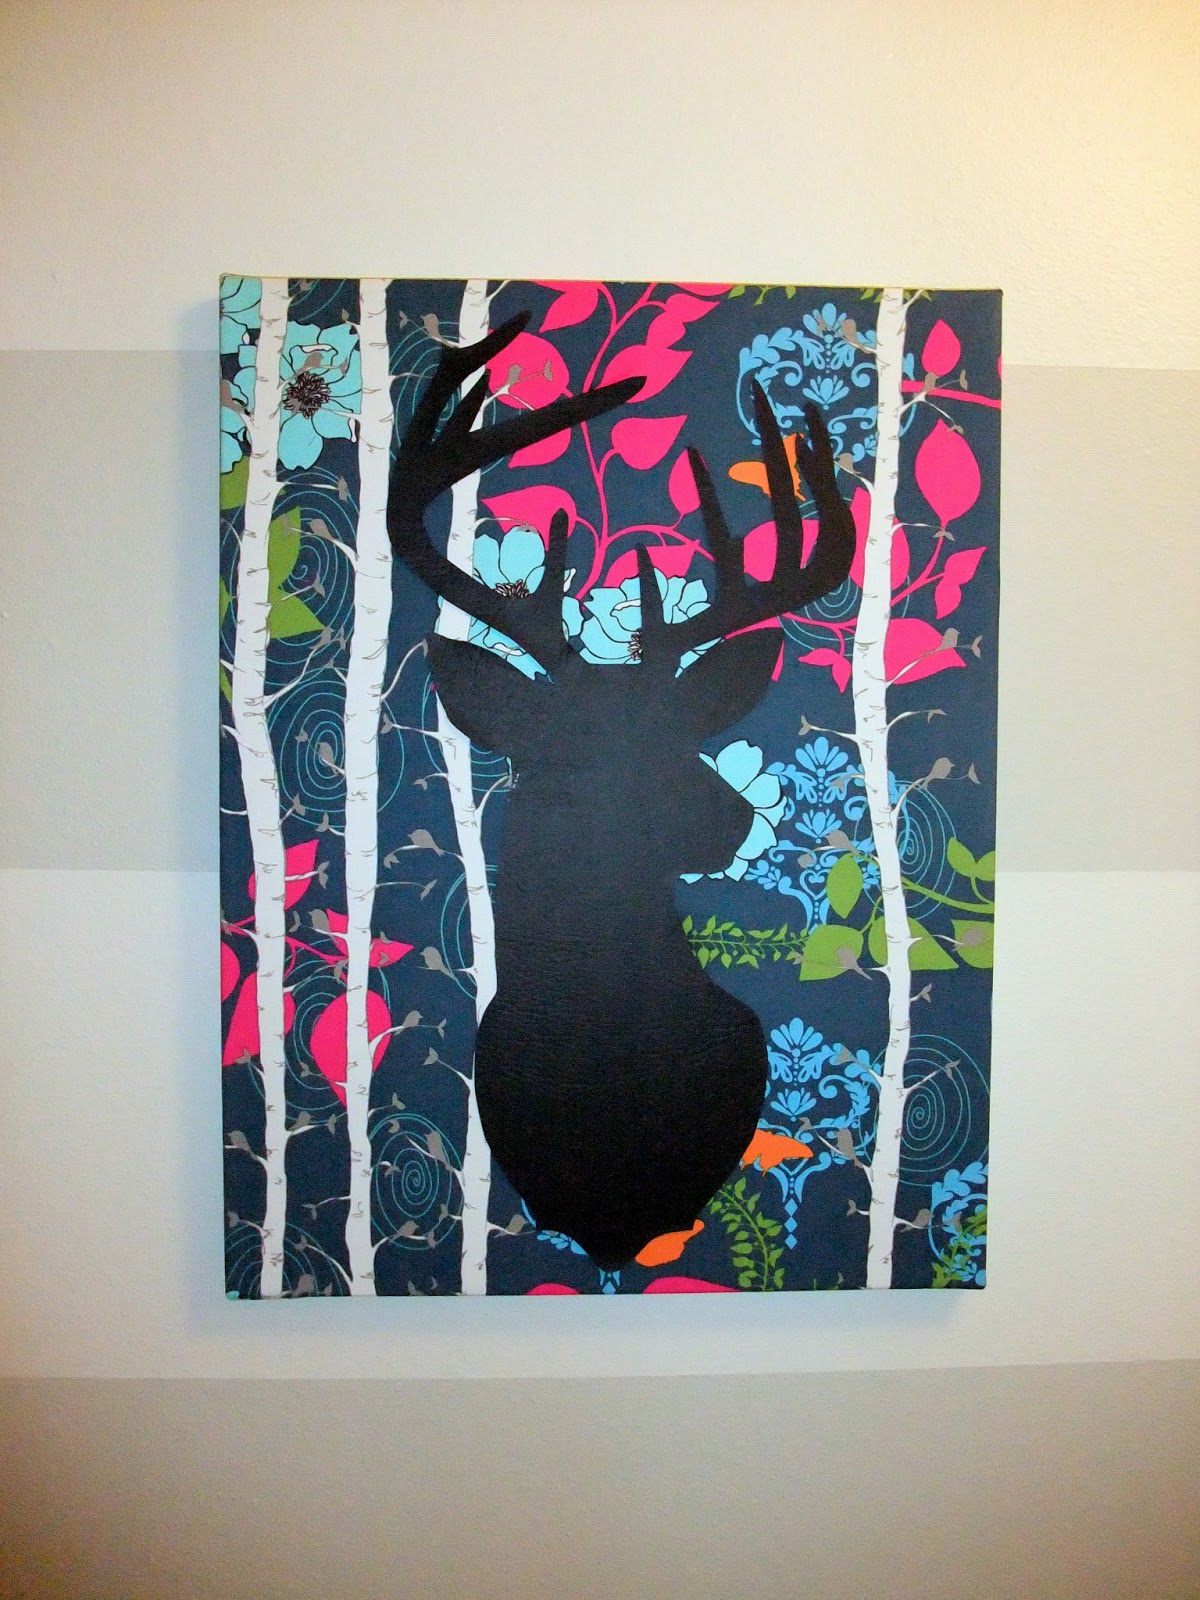
Now you're ready to show off your masterpiece!
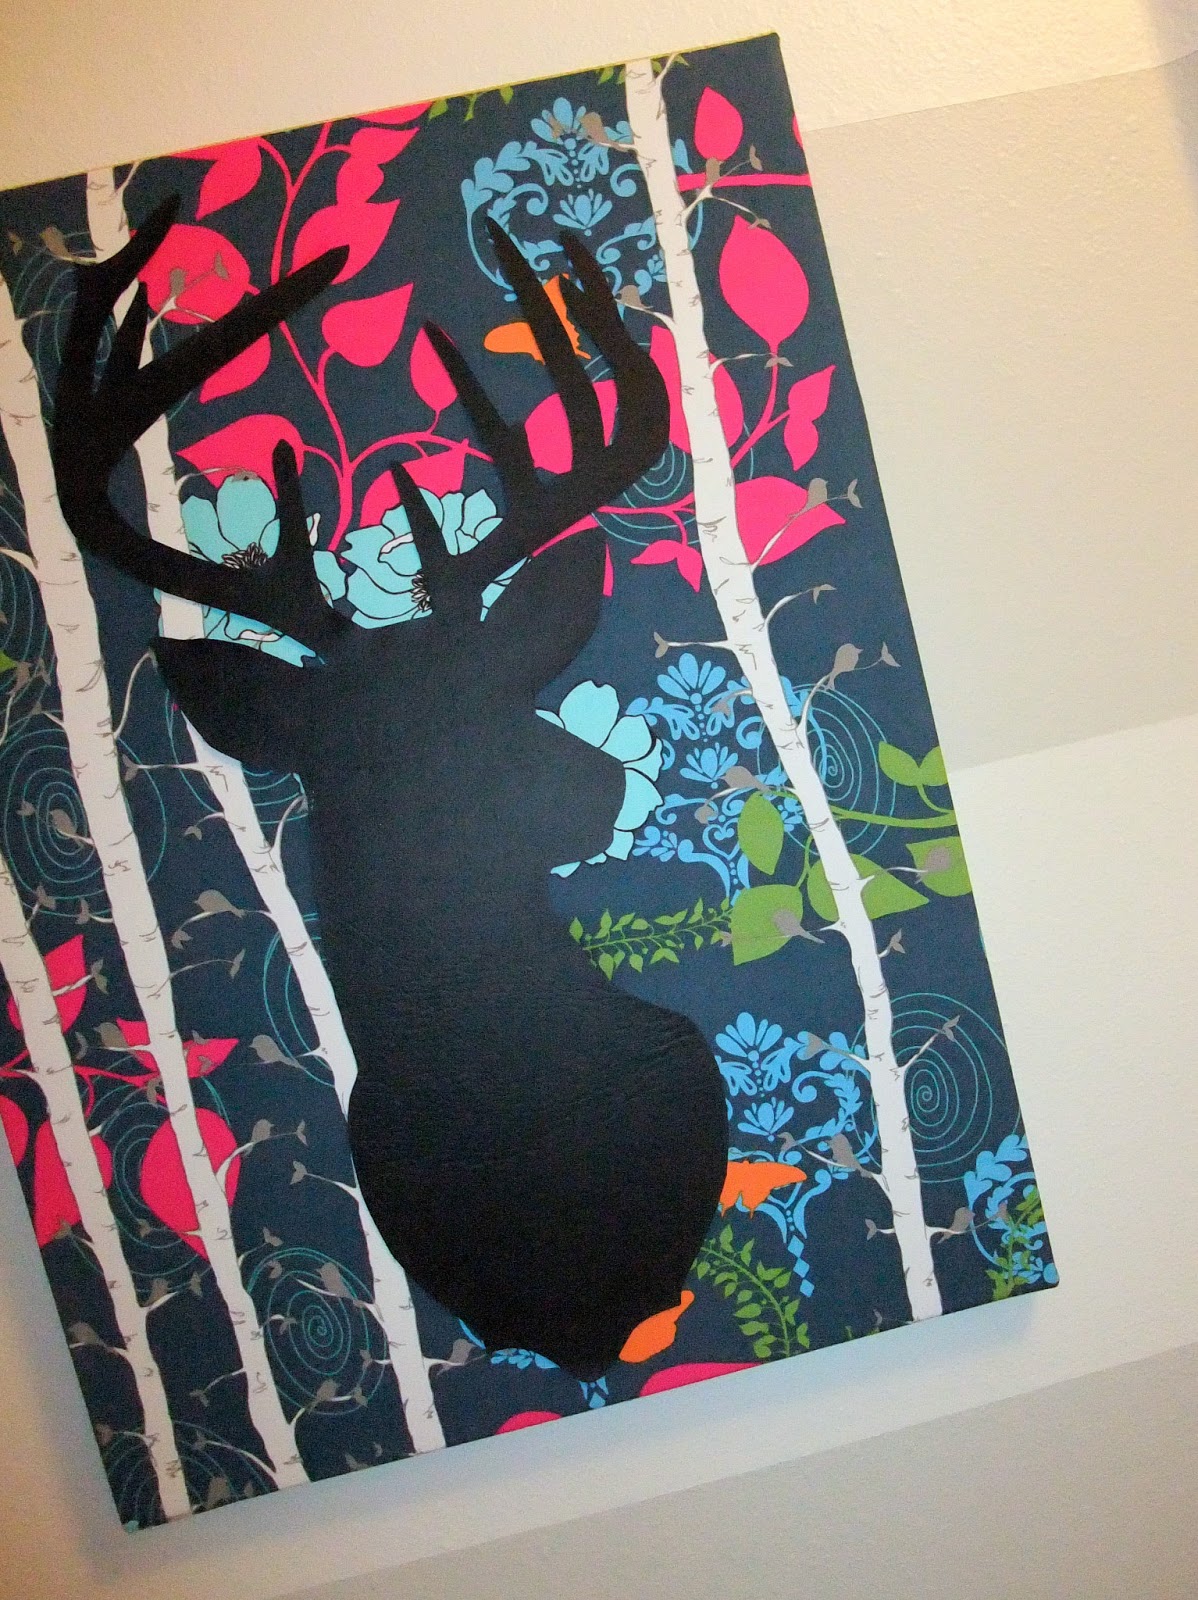
There are, of course, many variations to this project. You could paint the canvas and cut the deer out of some beautiful fabric and attach it to the painted canvas. That's what I had intended to do originally, but I decided I wanted more of that luscious fabric to show, so I used the fabric as the background in mine.

My next project is to refinish a vintage bookcase {update: Click here for that tutorial)
that will go beneath the deer silhouette.
that will go beneath the deer silhouette.
I'm going to refinish it in the beautiful lighter blue color on the damask design
that the arrow is pointing to in the photo below..
that the arrow is pointing to in the photo below..

I hope it will become the perfect compliment to the deer silhouette.


Linked to:
Knock Our Socks Off Party @ Jo Jo & Eloise
Knock Our Socks Off Party @ Jo Jo & Eloise
Friday Favs Party @ Naptime Crafter
Show & Tell Tuesday @ I have to Say
Knock Your Socks Off Party @ JoJo & Eloise
Made by you Monday @ Skip to my Lou
Featured on:


