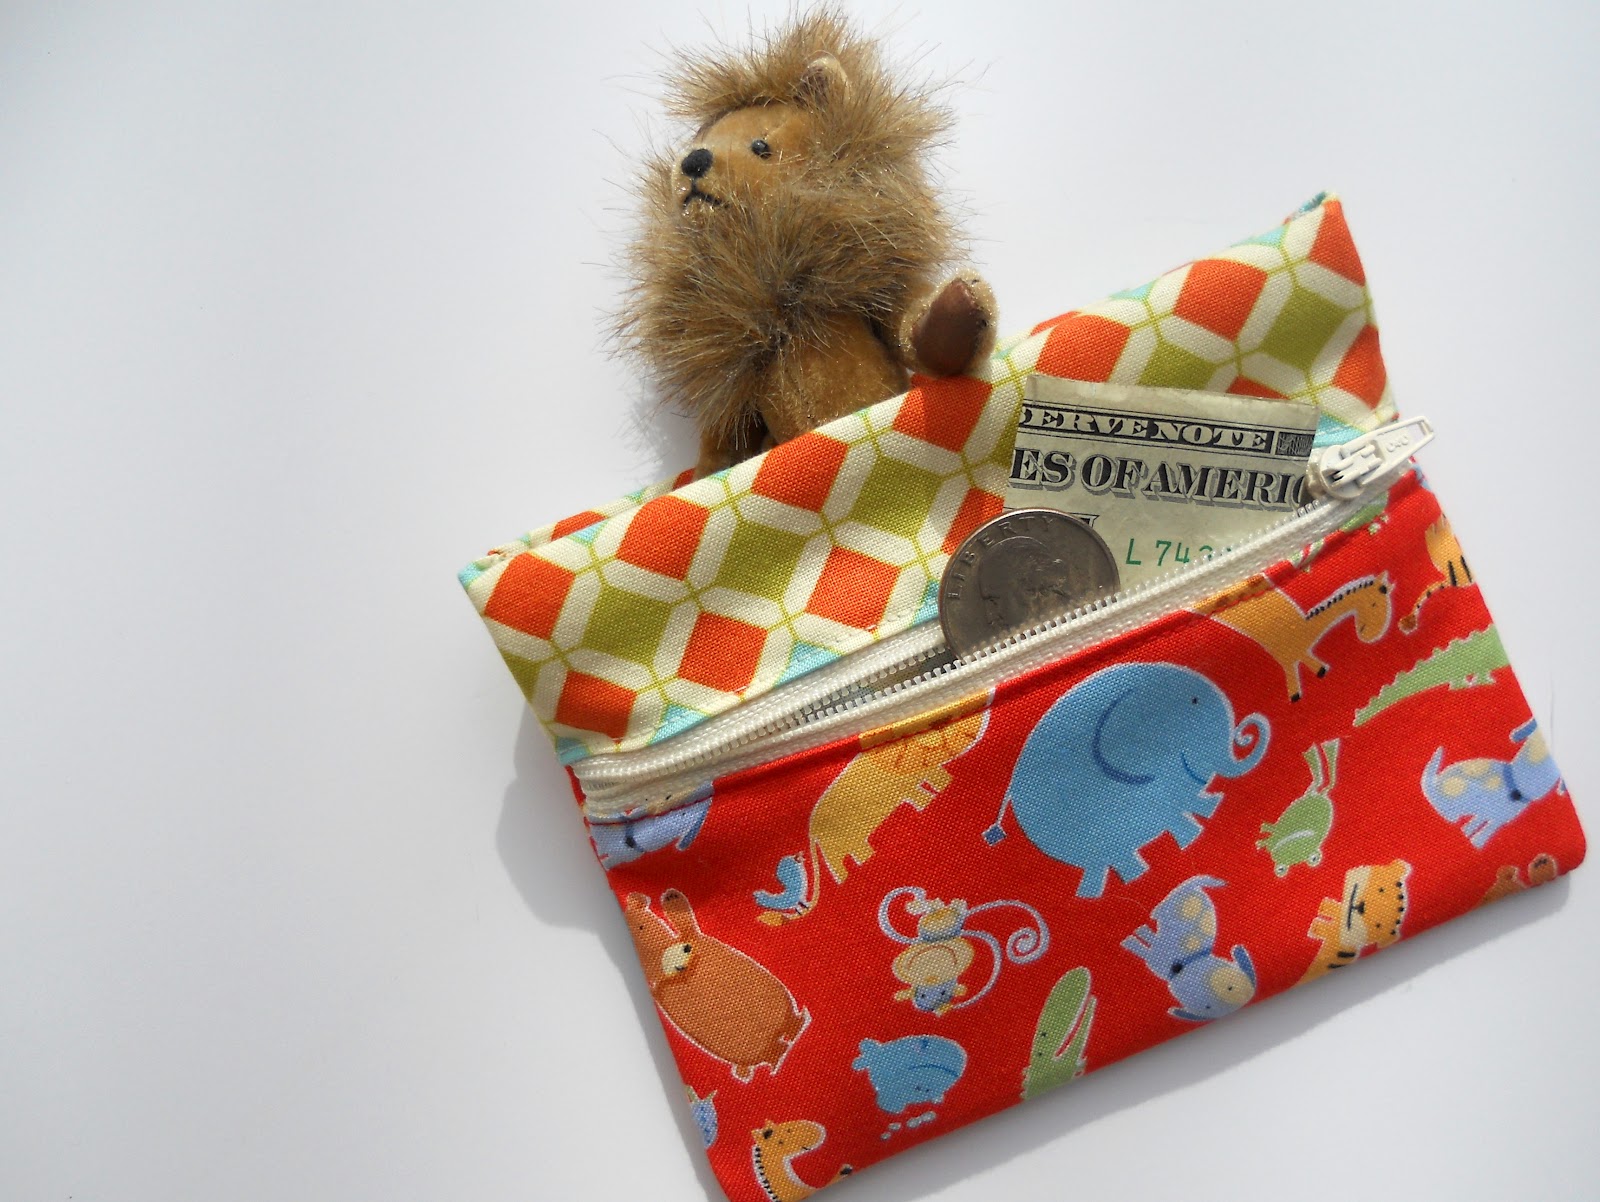
What a mouthful. You'd think I could think of a more succinct name. From here on out we'll call this kid-sized wallet the SNAP TRAP!
Last week
I introduced my Snap Trap wallet for kids. Although the Snap Trap looks similar to my
Snappy Bag, the pattern and tutorial are really quite different. My Snappy Bag is great for business cards, makeup or treats, but the measuring tape closure is not secure enough for money. For the Snap Trap wallet I devised a way to add a pocket with a zippered closure to keep money or other valuables safe. This wallet could, of course, be adapted to be an adult bag
with more adult-like fabric choices!
Below is the "pattern" and tutorial for my Snap Trap wallet.
Please remember the little printer icon at the bottom of this post that enables you to print {with ease} this tutorial.
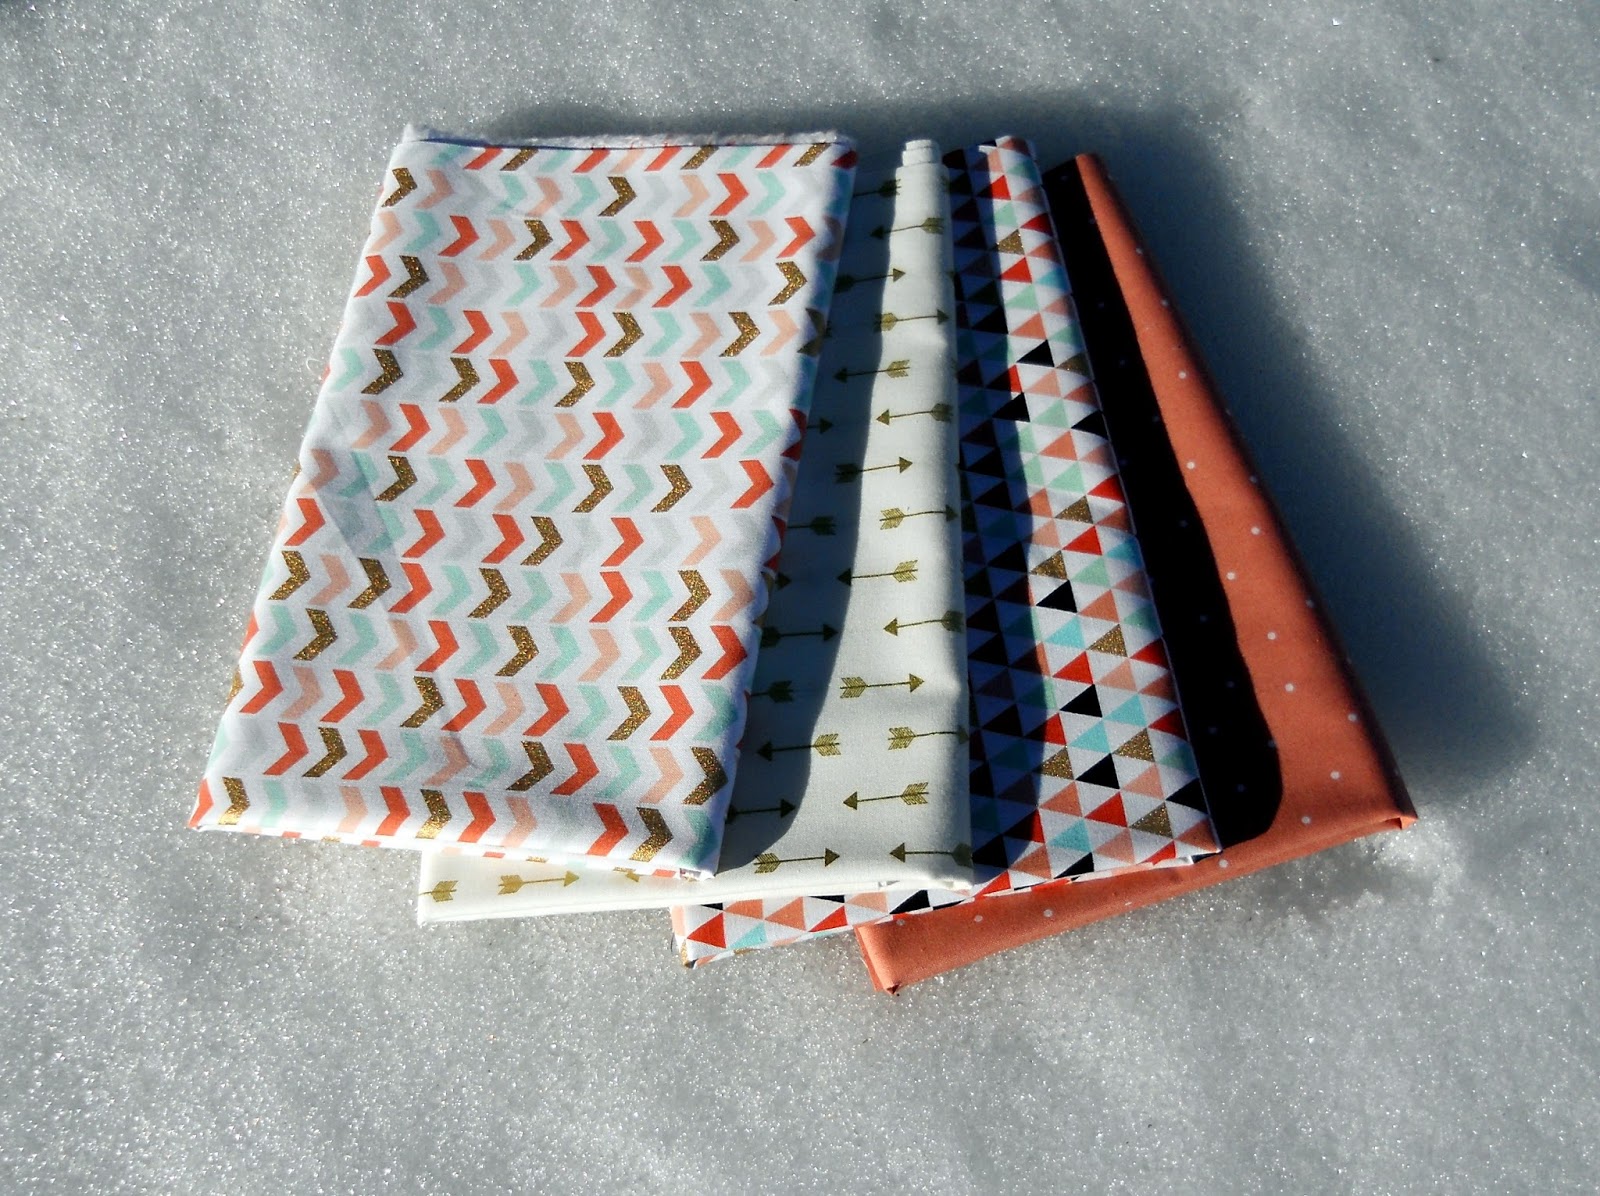
Materials Needed:
Front pocket and pocket lining: Two - 6 1/2" x 3 1/2" pieces of cotton fabric
Back: 6 1/2" x 4 1/2" piece of cotton fabric
Lining (& casing for measuring tape): 6 1/2" x 12" piece of contrasting cotton fabric
Interfacing for front pocket: 5 1/4" x 2 1/2" fusible interfacing
Interfacing for back: 5 1/4" x 4" fusible interfacing
Interfacing for front casing: 5 1/4" x 1" fusible interfacing
Zipper: 9 inches or longer
Two 5" lengths of 3/4" wide metal measuring tape
Thread
Finished bag: 5 1/2" wide x 4 1/4" tall
Directions:
1.
Before Sewing: Cut out all pattern pieces.
For front pocket and back: Attach the fusible fleece by centering it horizontally on the front pocket and back and 5/8" from the bottom of the pieces as shown below. The fusible fleece does not cover the seam allowances on the pocket front or back of wallet. This ensures less bulkiness in the seams.
For lining (and casing for measuring tape): Turn over one 6 1/2" edge 3/8" and press. Then tuck the interfacing into the folded crease and center the fusible fleece horizontally on the lining as shown below. This interfaced edge will be the casing on the front of the wallet.
2.
Making the front pocket: Now to make a little fabric sandwich: a.) Place front pocket piece
right side up, then place the zipper
face side down with the pull tab at the
left. b.) Place the pocket lining
right side down on top of those pieces. Pin.
3. a.) About 1/4" from edge of fabric stitch together using your zipper foot. b.) Flip pocket front and lining so the wrong sides are together and zipper is exposed. Press fabrics away from zipper "teeth." Stitch through lining, zipper and front pocket 1/8" from edge of fabric.
3.
Attaching front (pocket) to back: With right sides together pin bottom front pocket {and front pocket lining} to bottom back. Stitch using a 1/2" seam allowance.
Press seam toward back.
4.
Front measuring tape casing: Measure 1 1/4" from the previously folded edge of the interfaced lining and press. This will become the front casing for the snap (measuring tape) closure. Pin the folded edge to the zipper and stitch 1/8" from folded edge. You should have a 1 1/4" casing and the total measurement from the top of the casing to the bottom seam should be about 4 1/4". (see photo below)
5:
Back measuring tape casing: Fold the lining over so it is 4 1/4" from the bottom seam to make the back casing and press.
Then fold the unfinished edge over just enough so the casing is 1 1/4"...
a.) Pin casing to back. b.) Stitch 1/8" from folded edge...
6.
Stitch in a ditch: Secure the lining to the front of the
wallet by running a stitch in the bottom seam through the lining. (See
broken line in photo below.) This method is called "stitch in a ditch."
If you are unfamiliar with this, go
here. Important:
the bottom seam allowance should be pressed toward the back of the
wallet. This step should not be skipped as it will make a "bottom" for
the zippered pocket.
7.
Finishing Zipper: Bring tab of zipper to the middle of the wallet and stitch over the ends of the zipper 1/4" from the edge of wallet side on both sides.
8. Here's where I get a little picky. Trim about 1/8" off both sides of the wallet with a rotary cutter so that the edges are clean and neat. The rotary cutter will easily slice through the zipper to make it flush with the sides. You can see the before and after in the photo below...
9.
Finish one side of wallet: Fold the wallet in half right sides together. (The lining will be on the outside.)
On one side only stitch 3/8" from the unfinished edge. Trim and zig-zag seam and put the wallet aside.
20.
Measuring tape "Snap" Closure: Now for a little carpentry work. If you haven't already, dismantle a tape measure. Just undo the screws on the side of a measuring tape and take it apart. Be careful as you take it apart as the tape measure can "explode" when released from its confining metal case. Put a sturdy piece of tape on the end of the measuring tape to keep it wound.
21.
Cut measuring tape lengths: Cut two 5" lengths off the measuring tape (with the crummiest scissors you have in your house), round the corners and tape the ends with masking tape to prevent the sharp edges from damaging your fabric...
22.
Insert measuring tapes: Slip the metal measuring tapes into the casings at the top of the bag. The number side of the measuring tapes need to be facing toward the lining of the bag as shown in the photo below. Note one tape is facing "up" and the other is facing "down" because they need to be facing the lining on each side.
23.
You're almost done: When you have the tapes shoved all the way inside the casing, pin the sides together and sew 3/8" from the unfinished edge of the side. Trim and zig-zag the seam.
24:
Finished: Turn right side out, press and you're done!
If this tutorial was helpful,
please take a moment and leave a comment below. Your comments give me the encouragement to continue sharing and creating! Enjoy!
Linked to:
The CSI Project
Make it Monday @ Brassy Apple;
Made by you Monday @ Skip to My Lou;
Made Monday @ Toastie Studio;
Get Your Craft On @ Today's Creative Blog;
Party @ Northern Cottage;
Ta-Da Tuesday @ Mommy by Day Crafter by Night;
Sew Cute Tuesday @ Creative Itch;
Show Me What You Got @ Not Just a Housewife;
The Inspiration Board @ Homework;
Show & Tell @ Blue Cricket Design;
Hookin' Up @ House of Hepworths;
Strut Your Stuff @ Somewhat Simple


