Thanks to the readers who took advantage of the free 24 hour headband pattern give-away on my blog yesterday. More than 100 readers received the free pattern, which made me really happy!
A couple of weeks ago I mentioned that I would be revising my Etsy shop a bit. Yesterday I spent the day restocking shelves. Currently, my "Fabric Flower Headband Pattern" is in stock waiting to be purchased by anyone interested for the cost of $3!
I often receive emails asking if I am going to be selling ready-made items from free patterns and tutorials I've published on my blog. This request usually comes from those who don't know how to sew. I haven't done a lot of that in the past, but yesterday I made room for 10 already-made Fabric Flower Headbands. I've priced them very competitively, and with the purchase of a headband the buyer can receive the pattern free of charge! Sweet little deal if you ask me.
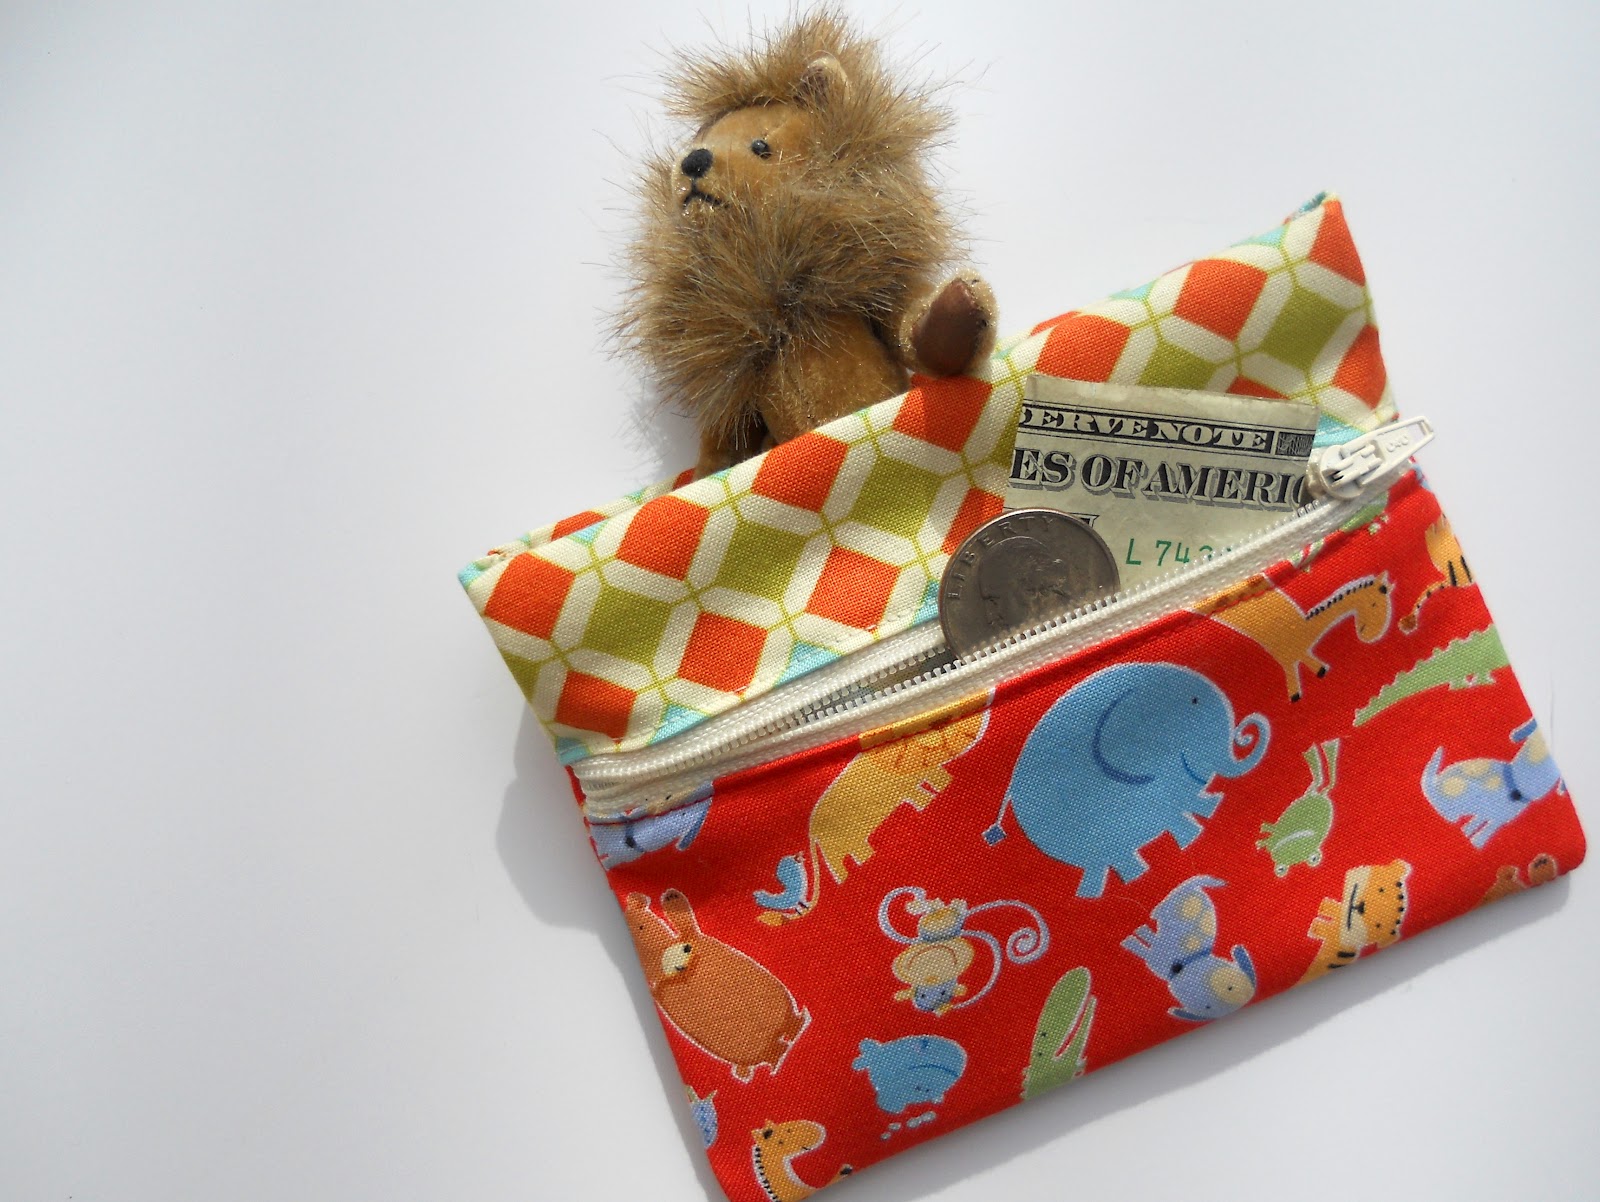
Also included in my Etsy are some "Snap Trap Wallets for Children!" These items are perfect for the little man or woman in your life. It's an ideal wallet for a child with lots of valuables and treasures!
Last but not least, I've included some "Bunting Cosmetic Bags" in the store. I love these beautiful and fresh little bags. This bunting bag might be the perfect gift for a mother on Mother's Day ... {just sayin'}
In the coming weeks more items will be placed on the shelves, but I feel good about the start I've made in updating my Etsy. I've tried to make and price items that won't break the bank for the buyer. Hopefully I've accomplished that!
Today I'm going to be creating a little softie bunny for Easter for our grandbabies. I hope it turns out. If it does I'll share it with you next week!
Showing posts with label cosmetic bag. Show all posts
Friday, March 16, 2012
Wednesday, June 22, 2011
Early Morning Hours . . .
One of my favorite times of the day in the summer are the early morning hours, and one of my favorite places is my garden. I love it best when the sun has just crept over the eastern horizon and the garden is flush with the dappled light of morning. Early this morning I was in my garden taking some photos, and it occurred to me to use the garden as a backdrop for some pictures of a few new creations I made last week.
I love these Bunting Cosmetic Bags. (Go here for the tutorial and list of materials.) They are just the right size, and I love the bunting that criss-crosses the front of the bag. Here are two bags I made last week in my favorite summer color -- turquoise...
Turquoise reminds me of the ocean, summer skies, and the bottom of a swimming pool -- all things that mean "summer" and "fun" to me! I put a spunky little lining in these bags to give it a little pizzazz when it's opened!
These bags are cute on their own, but with this early morning backdrop they're made even better!
I hope you're enjoying a beautiful summer day!
Monday, June 13, 2011
Bunting Cosmetic Bag Tutorial
After a fabulous vacation with family and a short hiatus, I'm back to creating and posting again. I'm a home-body at heart, so it feels good to have a few projects in the works!
Several weeks ago I celebrated a birthday and for the celebration my daughter made an adorable birthday bunting. I have to admit until I saw that banner I hadn't really understood what all the "bunting fuss" was about. I thought they were cute, but didn't necessarily feel the need to jump on the bunting bandwagon! However, the bunting my daughter made for my birthday changed my mind in a hurry. That's why I decided to produce a little bunting of my own and make a new cosmetic bag! I'm sharing my creation with you in this easy-to-follow tutorial...
Materials Needed:
2 pieces of muslin (or linen) fabric cut 9.5 inches wide x 8 inches tall
2 pieces of cotton fabric for the lining cut 9.5 inches wide x 8 inches tall
2 pieces of fusible fleece cut 9.5 inches wide x 8 inches tall
about 15 bunting triangles cut from a variety of scrap fabrics
thread
9" zipper
scrap of ribbon for zipper end (optional)
{ 1/4" seam allowance unless otherwise specified. }
Assembling the front:
1.) Start by fusing the fleece onto your muslin pieces with your iron. This will give the cosmetic bag more body and allow the bunting to have a little more dimension!
2.) Sew a line across the top of one of the pieces of muslin -- swooping it from the left side of the fabric to the top (see below). This line will work as a guide for your placement of bunting pieces.
3.) Then attach your bunting triangles by putting the tops of the triangles along the line already sewn and sewing across the top of each piece.
Several weeks ago I celebrated a birthday and for the celebration my daughter made an adorable birthday bunting. I have to admit until I saw that banner I hadn't really understood what all the "bunting fuss" was about. I thought they were cute, but didn't necessarily feel the need to jump on the bunting bandwagon! However, the bunting my daughter made for my birthday changed my mind in a hurry. That's why I decided to produce a little bunting of my own and make a new cosmetic bag! I'm sharing my creation with you in this easy-to-follow tutorial...
2 pieces of muslin (or linen) fabric cut 9.5 inches wide x 8 inches tall
2 pieces of cotton fabric for the lining cut 9.5 inches wide x 8 inches tall
2 pieces of fusible fleece cut 9.5 inches wide x 8 inches tall
about 15 bunting triangles cut from a variety of scrap fabrics
thread
9" zipper
scrap of ribbon for zipper end (optional)
{ 1/4" seam allowance unless otherwise specified. }
Assembling the front:
1.) Start by fusing the fleece onto your muslin pieces with your iron. This will give the cosmetic bag more body and allow the bunting to have a little more dimension!
2.) Sew a line across the top of one of the pieces of muslin -- swooping it from the left side of the fabric to the top (see below). This line will work as a guide for your placement of bunting pieces.
3.) Then attach your bunting triangles by putting the tops of the triangles along the line already sewn and sewing across the top of each piece.
4.) Next sew across the top of the pieces a couple more times and along the sides of the pieces a couple of times. Don't worry about being precise while sewing these lines. I purposely made the lines a little catawampus, which added some character to the piece. {At least that's what I'm hoping!}
5.) Time to add more bunting by creating another swooping sewing line starting at the top of the piece and sweeping across the fabric to the right...
6.) Just like before, go ahead and add your triangular bunting pieces using the sewn line as a guide for placement. Again sew around each triangle and across the top a couple of times!
Assembling the Pouch:
7.) Now that you have the front of the cosmetic bag completed, go to Noodlehead and follow Anna's "Scrappy Make-Up Pouch" tutorial, starting with "Assembling the Pouch." There are many different tutorials out there on how to make this pouch, but Anna's instructions and photos are always spot on and so easy to follow. When you have completed it, your bunting cosmetic bag should look like this...
I love this bag. It's quite possibly my favorite pouch ever. It's so cute and playful with a touch of quirky! I made several of them the other day...
Each one becomes unique depending on the fabric used for the lining and the scrap fabric used for the bunting...
Linked to:
Domestically Speaking Linky Party
Craft Schooling Sunday @ Creative Jewish Mom
Show & Tell Saturday @ Be Different Act Normal
Saturday Night Special @ Funky Junk Interiors
Friday Fun Finds @ kojo designs
Friday Fav Party @ Nap Time Crafters
Frugal Friday @ The Shabby Nest
Summer Fun @ Sassy Sites
Hookin' Up with House of Hepworths
Transformation Thursday @ The Shabby Chic Cottage
Show Off Your Stuff Party @ Fireflies & Jellybeans
20 Below @ Christina's Adventures
Strut Your Stuff @ Somewhat Simple
Anything Related @ All Things Related
Get Your Craft On @ Today's Creative Blog
It's Sew Fun Tuesday @ It's Sew for You
Craft-O-Maniac Monday @ Craft-0-Maniac
Running with Glitter Linky Party
Sisters Sunday Link Party @ Sisters of the Wild West
Each one becomes unique depending on the fabric used for the lining and the scrap fabric used for the bunting...
Enjoy!
Linked to:
Domestically Speaking Linky Party
Craft Schooling Sunday @ Creative Jewish Mom
Show & Tell Saturday @ Be Different Act Normal
Saturday Night Special @ Funky Junk Interiors
Friday Fun Finds @ kojo designs
Friday Fav Party @ Nap Time Crafters
Frugal Friday @ The Shabby Nest
Summer Fun @ Sassy Sites
Hookin' Up with House of Hepworths
Transformation Thursday @ The Shabby Chic Cottage
Show Off Your Stuff Party @ Fireflies & Jellybeans
20 Below @ Christina's Adventures
Strut Your Stuff @ Somewhat Simple
Anything Related @ All Things Related
Get Your Craft On @ Today's Creative Blog
It's Sew Fun Tuesday @ It's Sew for You
Craft-O-Maniac Monday @ Craft-0-Maniac
Running with Glitter Linky Party
Sisters Sunday Link Party @ Sisters of the Wild West
Thursday, June 09, 2011
Give Away Winner Announced . . .
Most of you were correct when you guessed that our vacation destination
was North Carolina --
specifically Corolla Beach!
The Outer Banks was such a perfect spot for our family to get together.
The sun was warm, the breezes cool, the water clear and the company perfect.
It really is an ideal vacation spot for family reunions --
as many of you already know and we were fortunate enough to discover!
Libby will receive this makeup case from my Etsy to use on her next get away!
And here's a sneak peak at a new creation that I'll be showing you how to make next week...
I cannot wait!
I cannot wait!
Subscribe to:
Posts (Atom)